Hello world
Lab exercises are designed to help you gain practical experience with web technologies. You should elaborate on these exercises to confirm you understand and deploy the learning you find here in your own code.
In this exercise we will build a minimal web page to explore the main aspects of HTML, CSS and JavaScript.
You should think about where you are going to save all this work to keep it organised. You probably need a folder for the entire module with subfolders for each of the lab exercises and your own experiments.
 CTEC2712
   ├─ exercises
   │    ├─ folder_1
   │    └─ folder_2
   └─ experiments
        ├─ experiment_1
        └─ experiment_2
Don’t blindly copy these folder names. You should think.. use sensible names that make sense to you!
An experiment
Create a new folder for a small experiment. Think about a naming convention that makes sense to you. Maybe call it vscode-experiment or similar.
Open your new folder in VSCode and create a file index.html.
 CTEC2712
   └─ exercises
        └─ vscode-experiment
             └─ index.html
It is crucial that you open the folder in VSCode, not the file.
Add the following, minimal content to the file.
| |
It should look something like this.
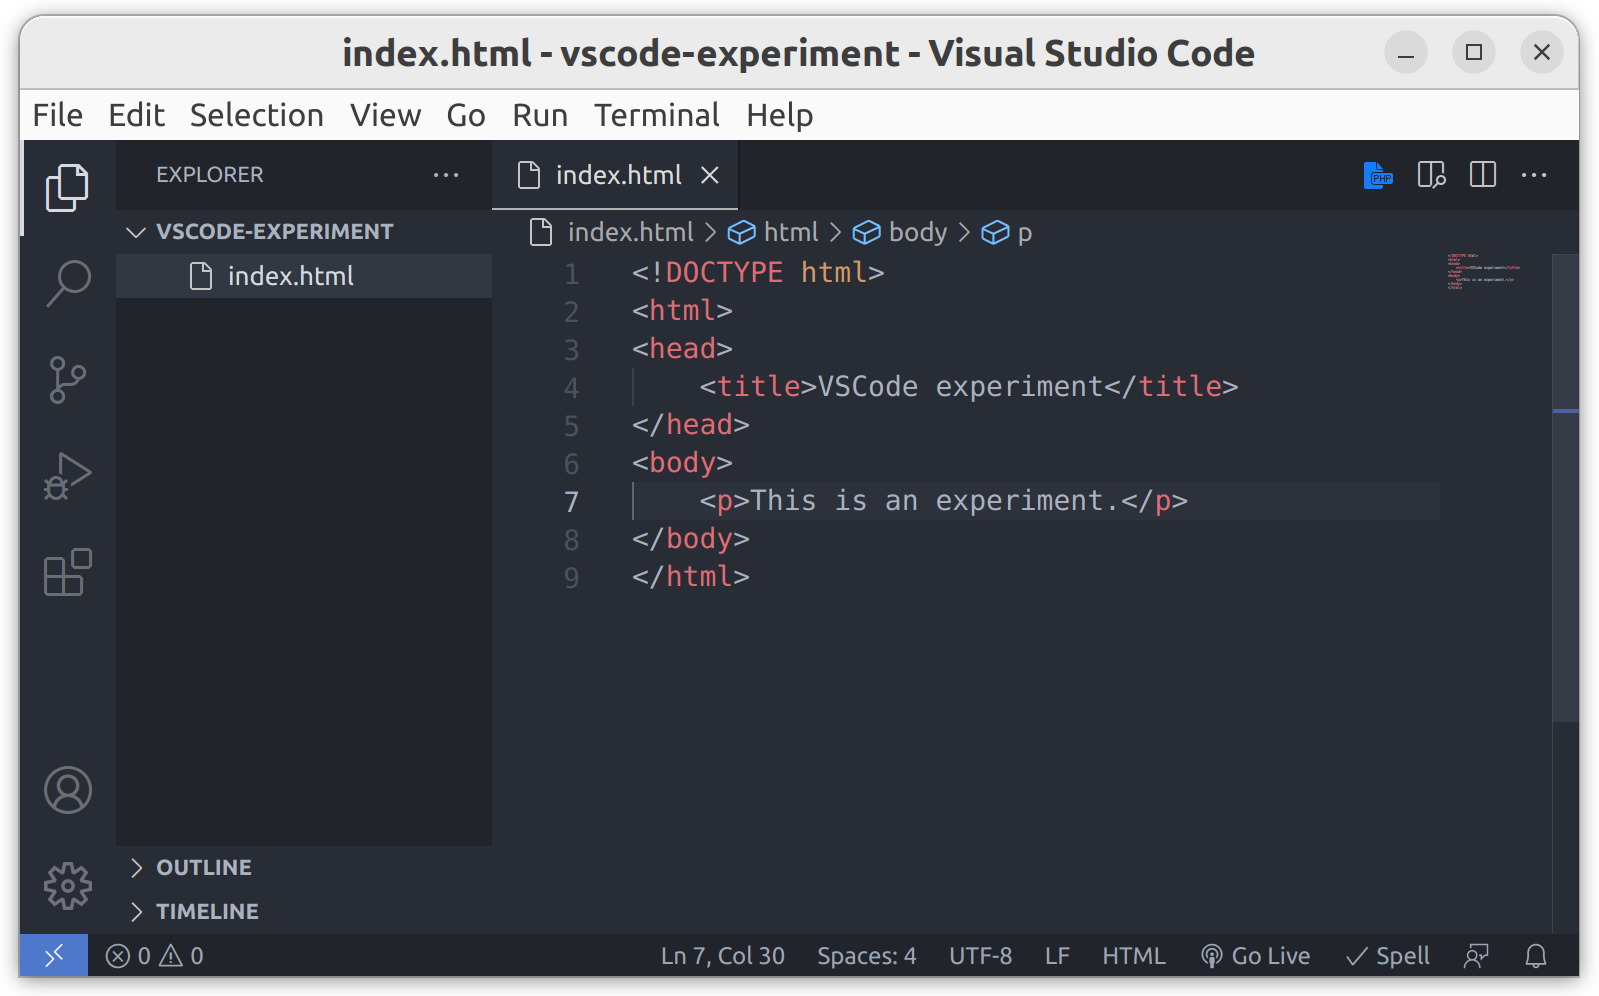
A minimal HTML document
The document includes a <title> in the <head> element and a paragraph in the <body> of the document.
It’s important that the top-level folder in the VSCode explorer window is your new folder. This will become the root folder for the live server extension. Remember, you can start the live server extension by clicking the go live button.
You should always use this to view your site, we won’t remind you again.

The site should open in your browser, looking something like this:
Admittedly its not that impressive, but we are only just beginning.
Note that the index.html file is loaded automatically. index.html is a special filename that is often used as the default page which will be served when the user requests a url that points to a directory.
You should see that the <title> appears in the browser tab above the page, not as part of the visible page itself.
The entire page content is made up of our simple <p> paragraph element.
The docstring and all the other elements (<html>, <head> and <body>) are providing structure for the document.
Obviously, this is a very simple document. We have to start somewhere.
More content
We will add a hyperlink to index.html to allow the user to navigate to about.html.
| |
We have added a second paragraph (<p>) containing some text and a hyperlink (an anchor tag <a>) pointing to another file about.html.
The content of the hyperlink element is the clickable text.
<a>tags are inline elements. This essentially means they are treated like text.
Now create the about.html file.
The two files must be in the same folder.
CTEC2712
  └─ exercises
       └─ vscode-experiment
            ├─ about.html
            └─ index.html
Add the following content to about.html.
| |
It is very similar to index.html, but the hyperlink points back to the original index.html file.
The result is a minimal two-page website.
Clicking on the links allows the user to navigate between the two pages.
Each click generates an HTTP request to the server (the live server extension within VSCode). The server responds with an HTML document which the browser parses and renders. You can view the requests in the network panel of the developer tools.
Try adding a second link to an extra page. Make sure your users don’t get stranded on the new page (add a link back).
Adding styles
OK, the above site is clearly very basic.
Update index.html as follows.
| |
We’ve added a <style> element within the <head> of the document.
This allows us to add CSS rulesets that modify the way the browser renders the content of the document.
We have added some very simple rules which will apply to the entire document <body>.
Do something similar to the about.html file.
| |
You should notice the difference in the browser. Each page in the site now has a distinct look.
Try modifying any additional pages you created in similar ways.
A CSS file
Typically, we want all the pages in our site to have common style rules. To achieve this, we can move our style information to a CSS file and link to the file from all our pages.
Create a new file style.css and add the following content:
| |
Now we can remove the <style> elements (and all their content) from our html documents and replace them with the following line (in all files).
| |
This is a
<link>element. It represents a link to another file. In this case, the rel(ationship) to this document is a stylesheet. This tells the browser that the file will contain CSS ruleset information that should be applied to the document.
Now all our pages can have a consistent style, any changes we make to the style.css file will be applied to all our pages.
Adding JavaScript
Using JavaScript, we can modify the Document Object Model. For example, we can create new elements and insert them into the page.
Open the developer tools in Chrome and select the JavaScript Console.
You can use Ctrl + Shift + J to open the JavaScript console.
Here are three lines of code.
| |
The above code does three things.
- Creates a paragraph element.
- Adds some text into the paragraph.
- Appends the element into the DOM.
Try typing these into the console.
The first two don’t make any difference to the page because the <p> element is not yet in the DOM.
You should see that the final line inserts our newly created element into the page.
Notice that you can do this on any web page. It doesn’t matter what web page you are viewing. However, it’s easier to see what’s happening if you use your own page.
Create a paragraph
The first line declares a (constant) variable element and assigns it to a newly created paragraph element.
| |
Variables declared with the
constkeyword cannot be reassigned with=later in the code. It’s good practice to always useconstunless you need to reassign, in which case, use theletkeyword.
Add some content
The second line modifies the paragraph element by updating its textContent property.
| |
Element objects have many properties and many ways to modify their content. The
textContentproperty is particularly efficient when working with simple text.
Insert it into the DOM
The final line appends the paragraph to the end of the document <body> element.
| |
The
documentis a global object made available by the browser. It provides an extensive API which can be used to interact with the DOM. In this case, we are accessing the document.body property.
Defining a script
Writing code in the JavaScript console is very useful for experiments and testing.
However, if we want to build JavaScript into our HTML document, we need to include a <script> element.
In our index.html file, we can add a <script> element and put our code inside it.
| |
The browser continuously builds the DOM as it parses the file line-by-line.
Each element is added into the DOM as soon as it is encountered.
The browser will see the <script> element and execute our code.
By default, scripts are executed immediately.
Simple
<script>elements like this are often added as the last element within the body.
Loading the page shows that the page now has an extra paragraph inserted at the end.
Separate JavaScript files
Rather than including code directly in the HTML document, our <script> element can be given an src attribute that points to a file containing the code.
Create a new file script.js with our code.
| |
Now we can remove the code from the <script> element and simply point to it with the src="script.js" attribute.
This keeps the HTML document simple and separates the content from the behaviour, just like the CSS file separates the presentation.
| |
The page should still work exactly as before.
Script location
Notice that the two hard-coded paragraphs are loaded into the DOM before the script is executed. If we move the script, the DOM will be in a different state when it executes.
Moving a line of code can be achieved easily with Alt + up arrow and Alt + down arrow. See more keyboard shortcuts for Windows, MacOS and Linux.
Move the <script> element up so it is in between the two paragraphs.
| |
The result is that our dynamically generated paragraph is moved up.
This is because the <body> only includes one paragraph when the script is executed.
Remember, line 3 of the script appends our paragraph to the end of the
<body>element.
Move the <script> element above the two paragraphs.
| |
Now the <body> will be empty when the script is executed.
In each case, the new paragraph is added earlier in the process and the browser continues parsing the file after the script has completed.
Scripts in the <head>
Moving our script into the <head> is also allowed.
| |
However, our code causes an error if we move it into the <head>.
The JavaScript console reports this error:
Uncaught TypeError: Cannot read properties of null (reading 'append') at script.js:3:15Error messages require careful attention. This one tells us exactly what went wrong. It says we tried to read the
appendproperty ofnull.It reports the error occurred at the 15th character on line 3 of script.js
1
2
3
const element = document.createElement("p"); element.textContent = "hello"; document.body.append(element);We know that we were trying to call the
appendmethod of the<body>element here.Our first task when debugging is to understand what happened and why.
Firstly we can be certain that the
bodyproperty of thedocumentobject has a value ofnull. We should realise thatnullhas noappendmethod, this is why the error occurred.This is important to understand. Error messages tell us exactly where to look and exactly what caused the error.
The reason is that by default a <script> in the <head> of a document will execute before the <body> element has been added into the page.
The solution is to mark the script with a defer attribute like this:
| |
The
deferattribute tells the browser to defer execution of the script until the document has been fully parsed.
Or we can declare the script to be a JavaScript module by setting the type="module" attribute.
| |
JavaScript modules provide a number of advantages, in particular they allow for splitting code over multiple files and using
importandexportstatements within our code. This is only important when a javascript project becomes larger and more complex. For us, we get the same benefit asdeferbut we also force the script to be interpreted in strict mode (rather than the default sloppy mode). This is always good and will help us with debugging.
Creating a function
Now wrap the three lines of javascript in a function definition.
| |
We have named our function insertParagraph.
Notice that the code only defines the function.
We are not executing the function, so the paragraph is no longer added to the page.
However, it is easy to call our function. We can now add multiple calls to the function to run the same code multiple times.
| |
You should now see three new paragraphs have been added to the page. Our code defines a function and then calls it three times.
Interaction
You may have noticed that our code is a bit pointless.
We could easily include three <p>hello</p> elements directly in the HTML to get the same result.
To make it more interesting, we will add a button to the page which appends a new item to a list every time it is clicked.
JavaScript is great for making a site interactive. There are a few important concepts we need to know.
- There are things called events, which can be triggered by the user.
- Functions can be used as event handlers in response to events.
Events can be triggered in other ways too, but we will focus on the click event which occurs when the user clicks a mouse button with the mouse pointer over an element.
Let’s add a button into index.html.
| |
But clicking the button does nothing.
We need to tell the browser to listen for the button’s click event and call our function whenever it is triggered.
Notice, we added an id="my-btn" attribute to the button.
This allows us to easily pinpoint the specific element using JavaScript using the getElementById method of the document object.
| |
Now, we can add an EventListener to the button, passing two arguments, the event type we want to listen for (the 'click' event) and the function to call (our insertParagraph function) when the event fires.
| |
Now clicking the button should add a paragraph into the page.
Make sure your code works just like the above example.
A final tweak
Ok, we are nearly finished now. We just want to modify how this works by adding a few tweaks to the HTML, CSS and JavaScript.
Add a container
First, we will add a new <div id="output"> element into index.html.
This will contain our paragraphs and will ultimately allow us to modify the layout of the paragraphs using CSS.
| |
Use the container
Now we can tweak script.js to append the new elements to the new element rather than directly into the <body>.
| |
Use the elements panel in the developer tools to watch what happens to the DOM when you click the button a few times. You should see that the changes we are making to the DOM are very simple. We are adding a new
<p>hello</p>into the<div id="output">element every time we click.
Style the container
Finally, we can start playing with the way we present the document by modifying style.css.
Add a ruleset for the #output selector, setting the background colour for the <div> to red.
| |
CSS selectors allow us to pinpoint elements we want to style. We can select specific ids using the
#idselector.
Now let’s add another ruleset for the #output p selector, which will apply to all the paragraph elements inside our <div>.
| |
Combinators allow us to combine selectors to pinpoint more specific elements. The space in
#output pselector is known as the decendant combinator.#output pselects allpelements which are decendants of (i.e. are inside) the#outputelement.
Click the button a few times to see the impact. Make sure you understand what just happened.

The normal paragraphs, outside of the
#outputelement, are unaffected.
Notice that the yellow <p> elements are separated by a default top and bottom margin.
This allows us to see the red background of the containing <div> between them.
Also, the <p> elements themselves provide just enough room for the text content and no more.
We can add a bit of room by setting the padding.
| |
This gives the content (the text “hello”) a bit more space within the paragraph.

Modify the formatting context
Now we will change the formatting context of the <div> by setting it’s display property to flex.
The display property can completely change our #output element layout.
So the elements follow different rules from the default block formatting context.
By setting it to flex, we implicitly make all its direct children (i.e. all the <p> elements) into flex-items, changing their behaviour drastically.
Essentially, this means they will position themselves horizontally. We can add a few more rules to put space between the elements and position them in the center.
| |
The result is clearly a major change.

We also set the
flex-wrapproperty. This prevents the<p>elements from overflowing the page and allows them to wrap, a bit like text andinlineelements.
Try adding lots of elements.
Remember, all we did was change the CSS. The elements within the DOM are still exactly the same as they were before.
Make sure you use the developer tools in Chrome to view the site from a developers perspective.
Conclusions
In this exercise we have seen that we can use VSCode and the Chrome browser together as a development environment for creating static websites.
- We have created very simple HTML documents with basic content using VSCode.
- We have served these documents using the live server extension and accessed them via the Chrome browser.
- We added hyperlinks to allow us to navigate between pages.
- We added CSS rulesets to provide different styles on each page.
- We added JavaScript code to modify the DOM in response to user interaction.
- We saw how changes to the CSS can make drastic changes to how the content are presented in the browser, including how elements are positioned.