Getting started with Git and GitHub
Lab exercises are designed to help you gain practical experience with web technologies. You should elaborate on these exercises to confirm you understand and deploy the learning you find here in your own code.
Git is software that allows us to store code safely and return back to previous saved versions. In this exercise we will introduce basic usage of GIT within VSCode.
Have you ever broken some working code and not been able to get it working again?
This is one of the key problems that version control solves for us.
Git allows us to make incremental improvements to our code whilst also allowing for free experimentation.
Create a new project
Create a new project with two files, an index.html and a style.css.
Your project should look something like this.
 CTEC2712
   └─ exercises
        └─ git-experiment
            ├─ index.html
            └─ style.css
The index.html file can contain anything you like. It doesn’t matter for what we are doing.
Perhaps this?
 1
 2
 3
 4
 5
 6
 7
 8
 9
10
11
12
13
14
<!DOCTYPE html> <html lang="en"> <head> <meta charset="UTF-8"> <meta name="viewport" content="width=device-width, initial-scale=1.0"> <title>Experimenting with git and GitHub</title> <link rel="stylesheet" href="style.css"> </head> <body> <header> <h1>This is an experiment with git</h1> </header> </body> </html>
Similarly, the style.css file can contain anything, git doesn’t care.
Maybe this?
1
2
3
4
5
body { font-family: system-ui; background: #222; color: #ddd; }
Now, make absolutely sure that you have opened the git-experiment folder in VSCode. NOT the parent folder. You should see two files directly in the VSCode explorer panel like this.
The details of these images may be slightly different from what you see. VSCode releases updates regularly and the UI has even been updated during the creation of this exercise. I have added dark mode and light mode examples.
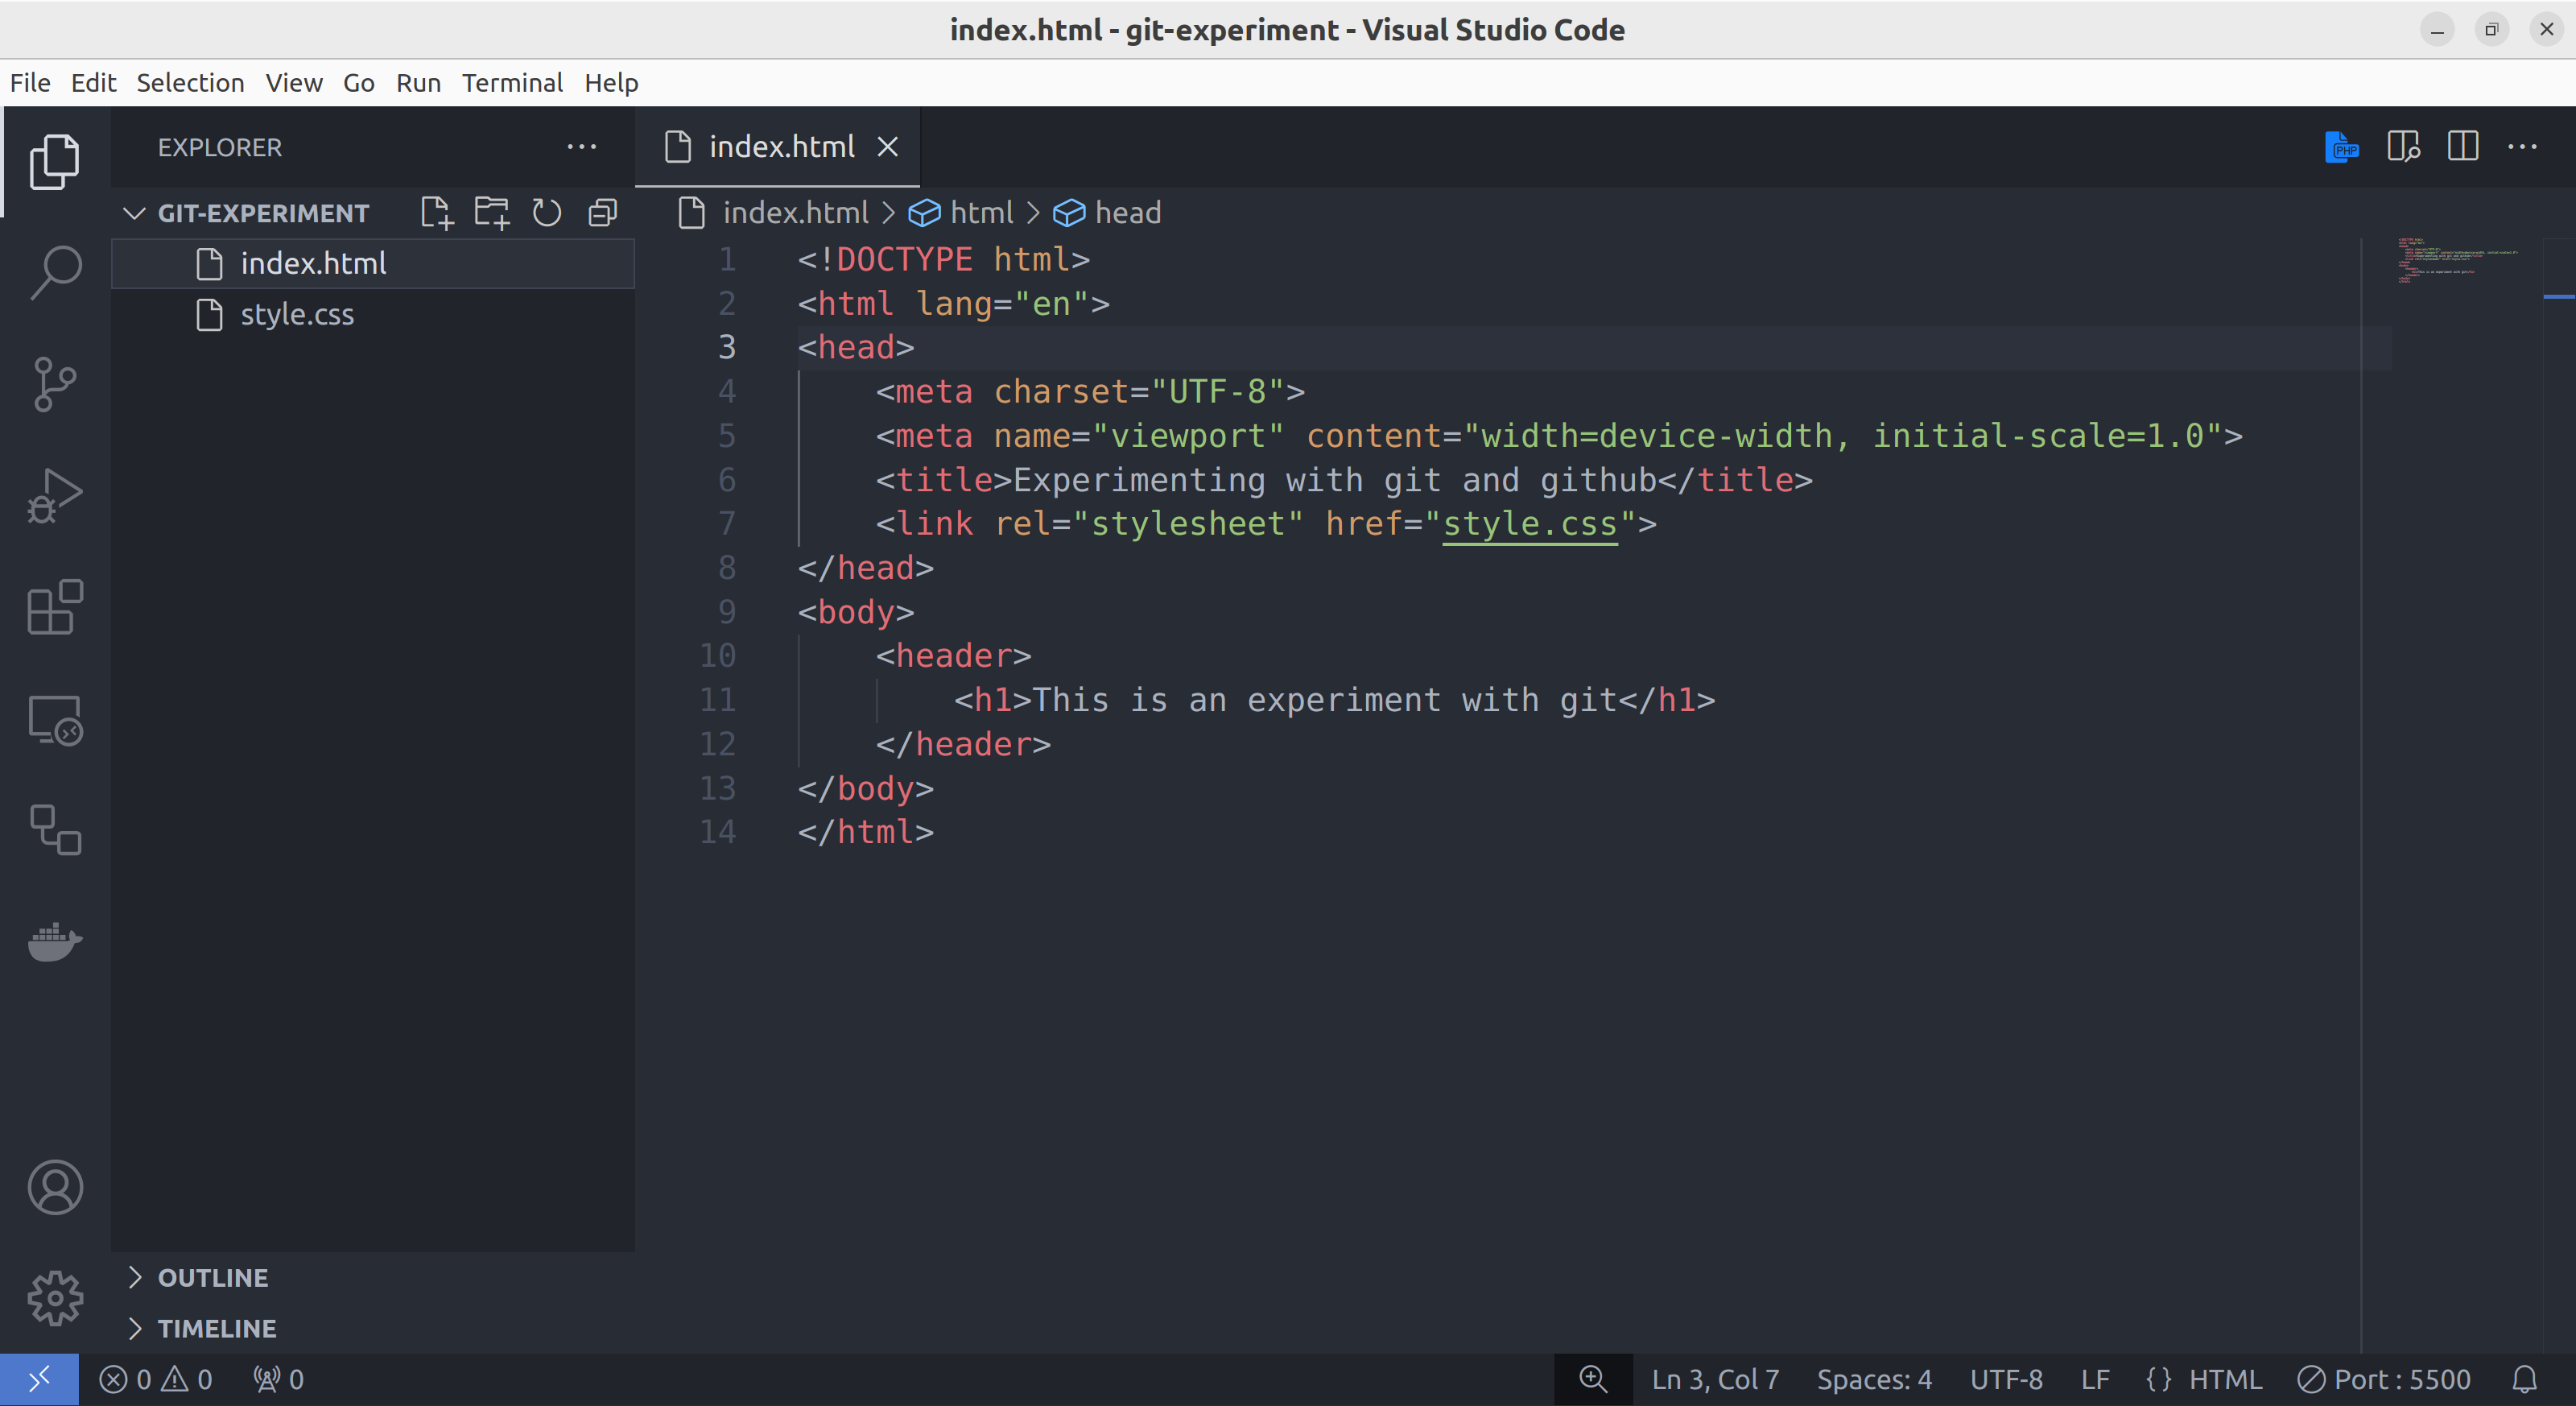
The folder is open in the explorer panel on the left
Light mode equivalent
Notice on the left-hand side the top-level folder is GIT-EXPERIMENT in capitals. This will be the folder that becomes a git repository in the next step.
Initialise a new git repository
To convert our project into a git repository, we first need to open the source control panel as shown below.
Click the git icon which is the third icon down on the left hand side of the VSCode window.
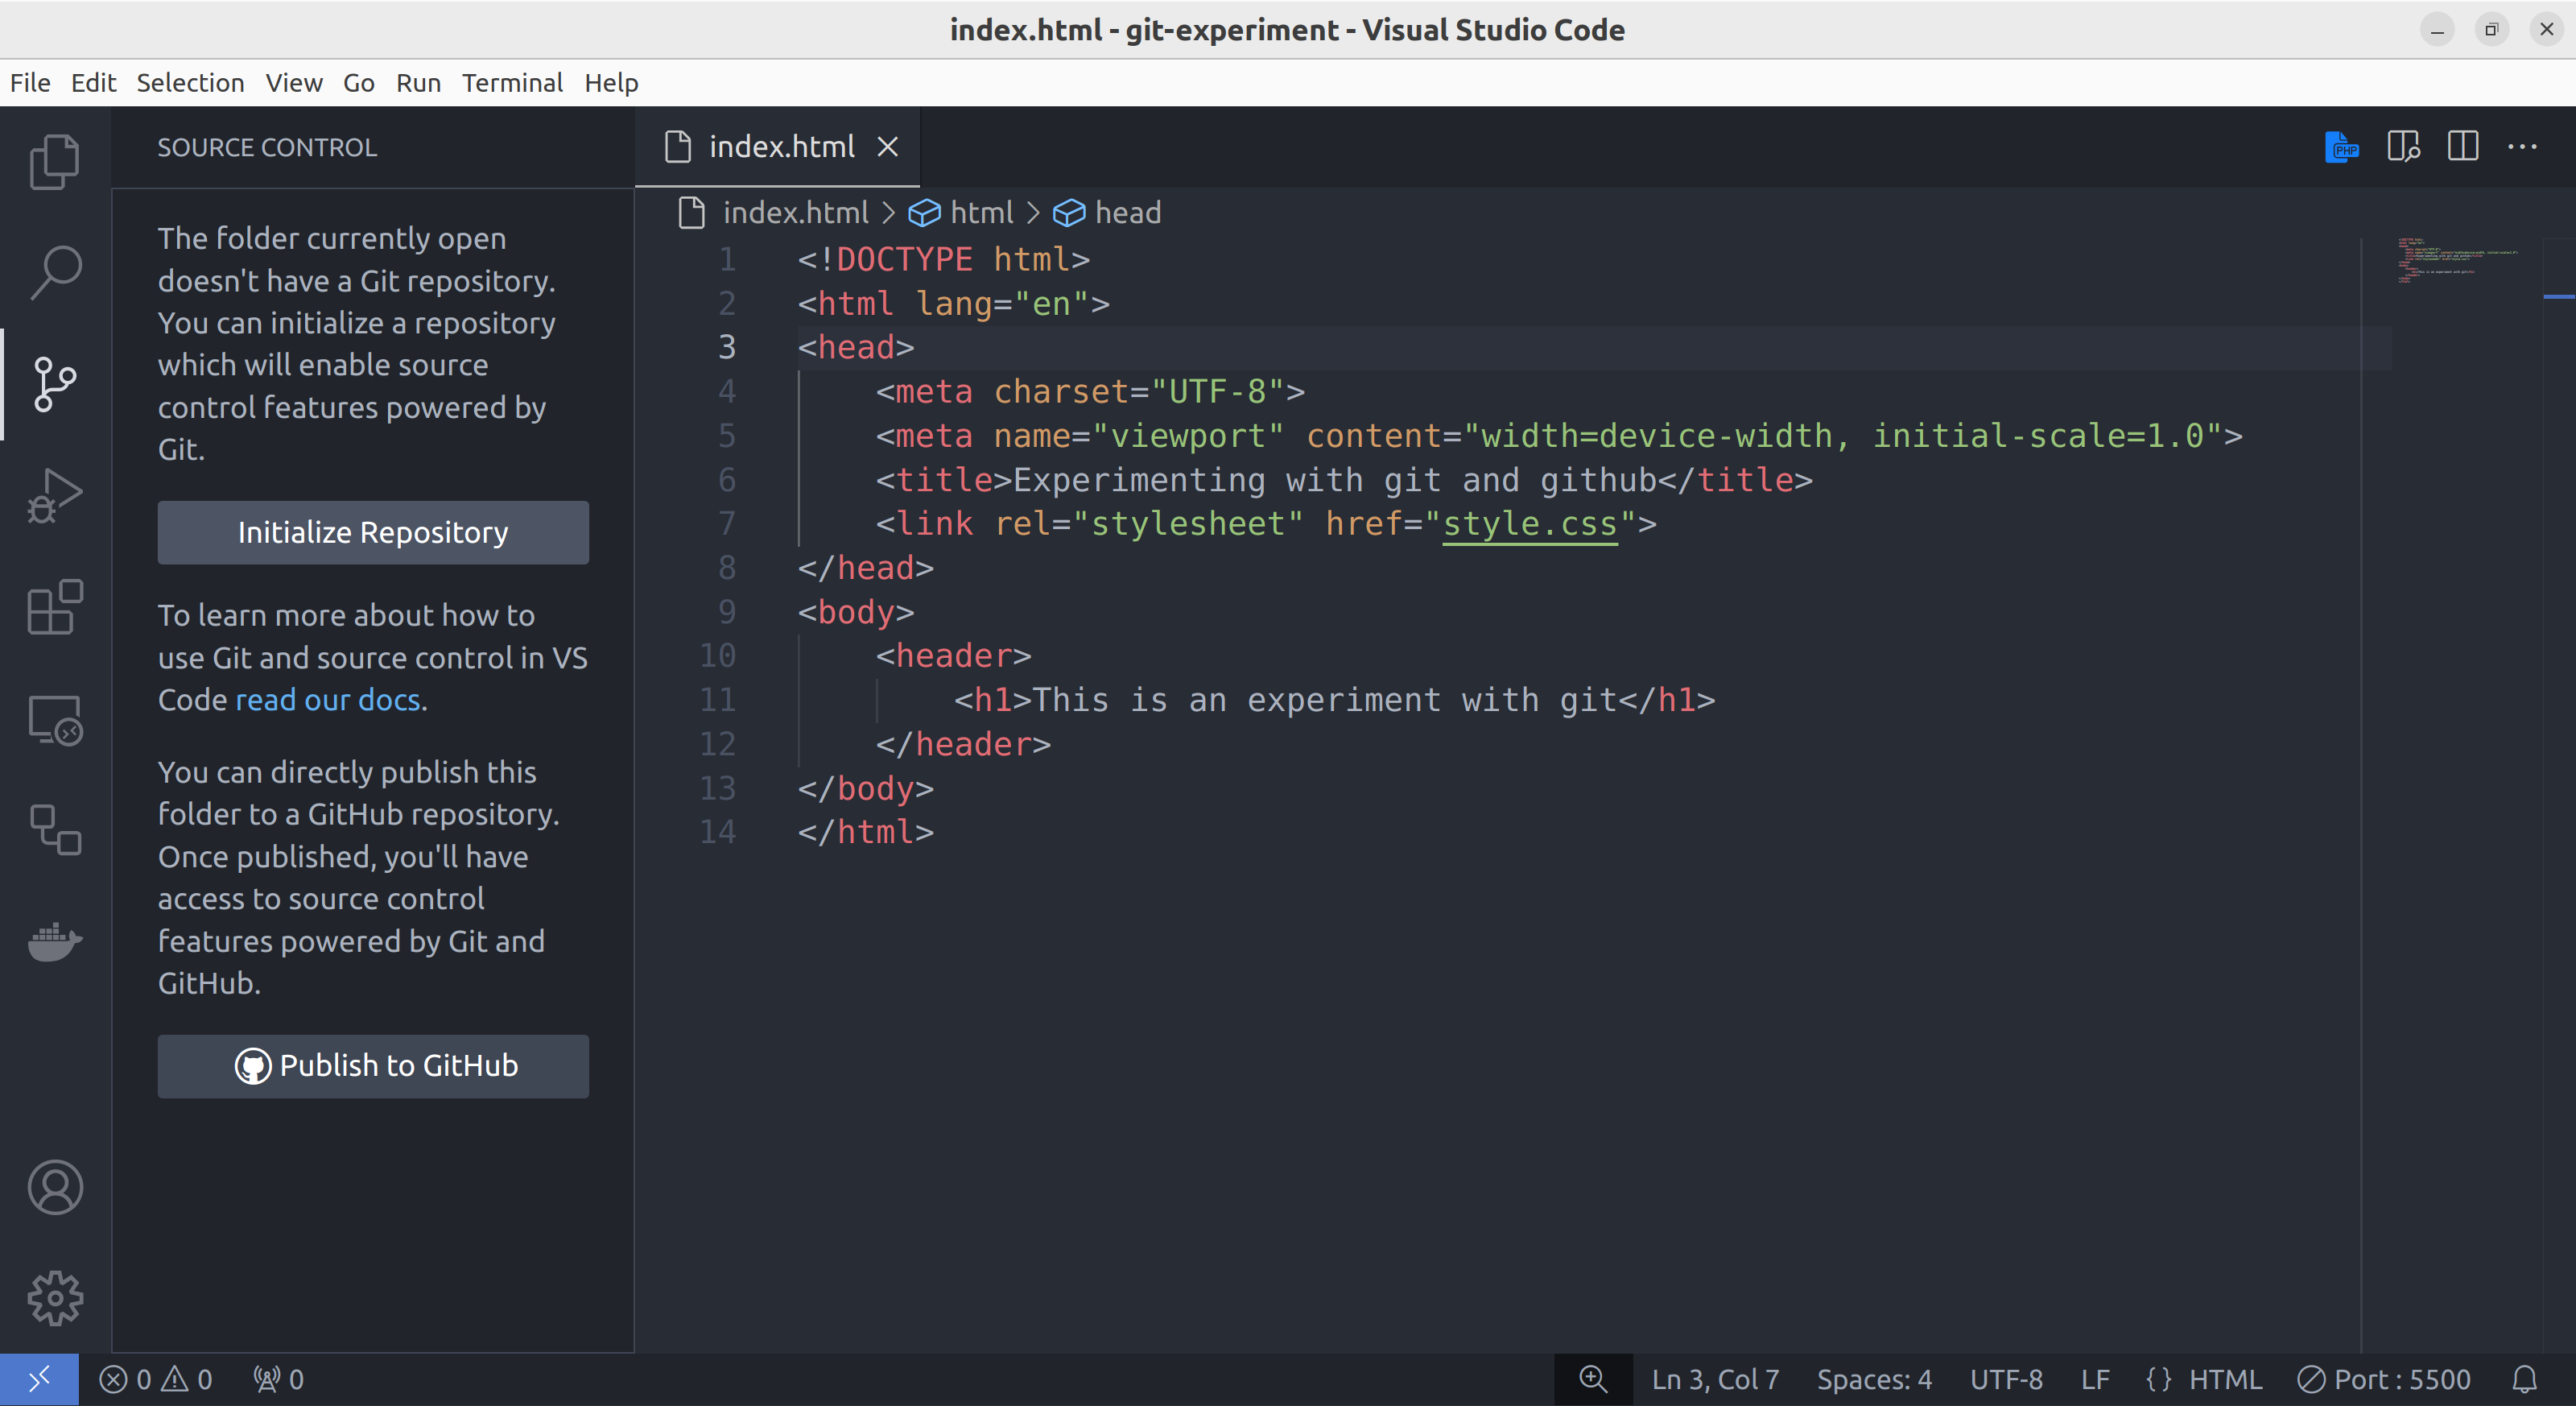
The source control panel is indicating that there is no git repository and offering you the chance to create one
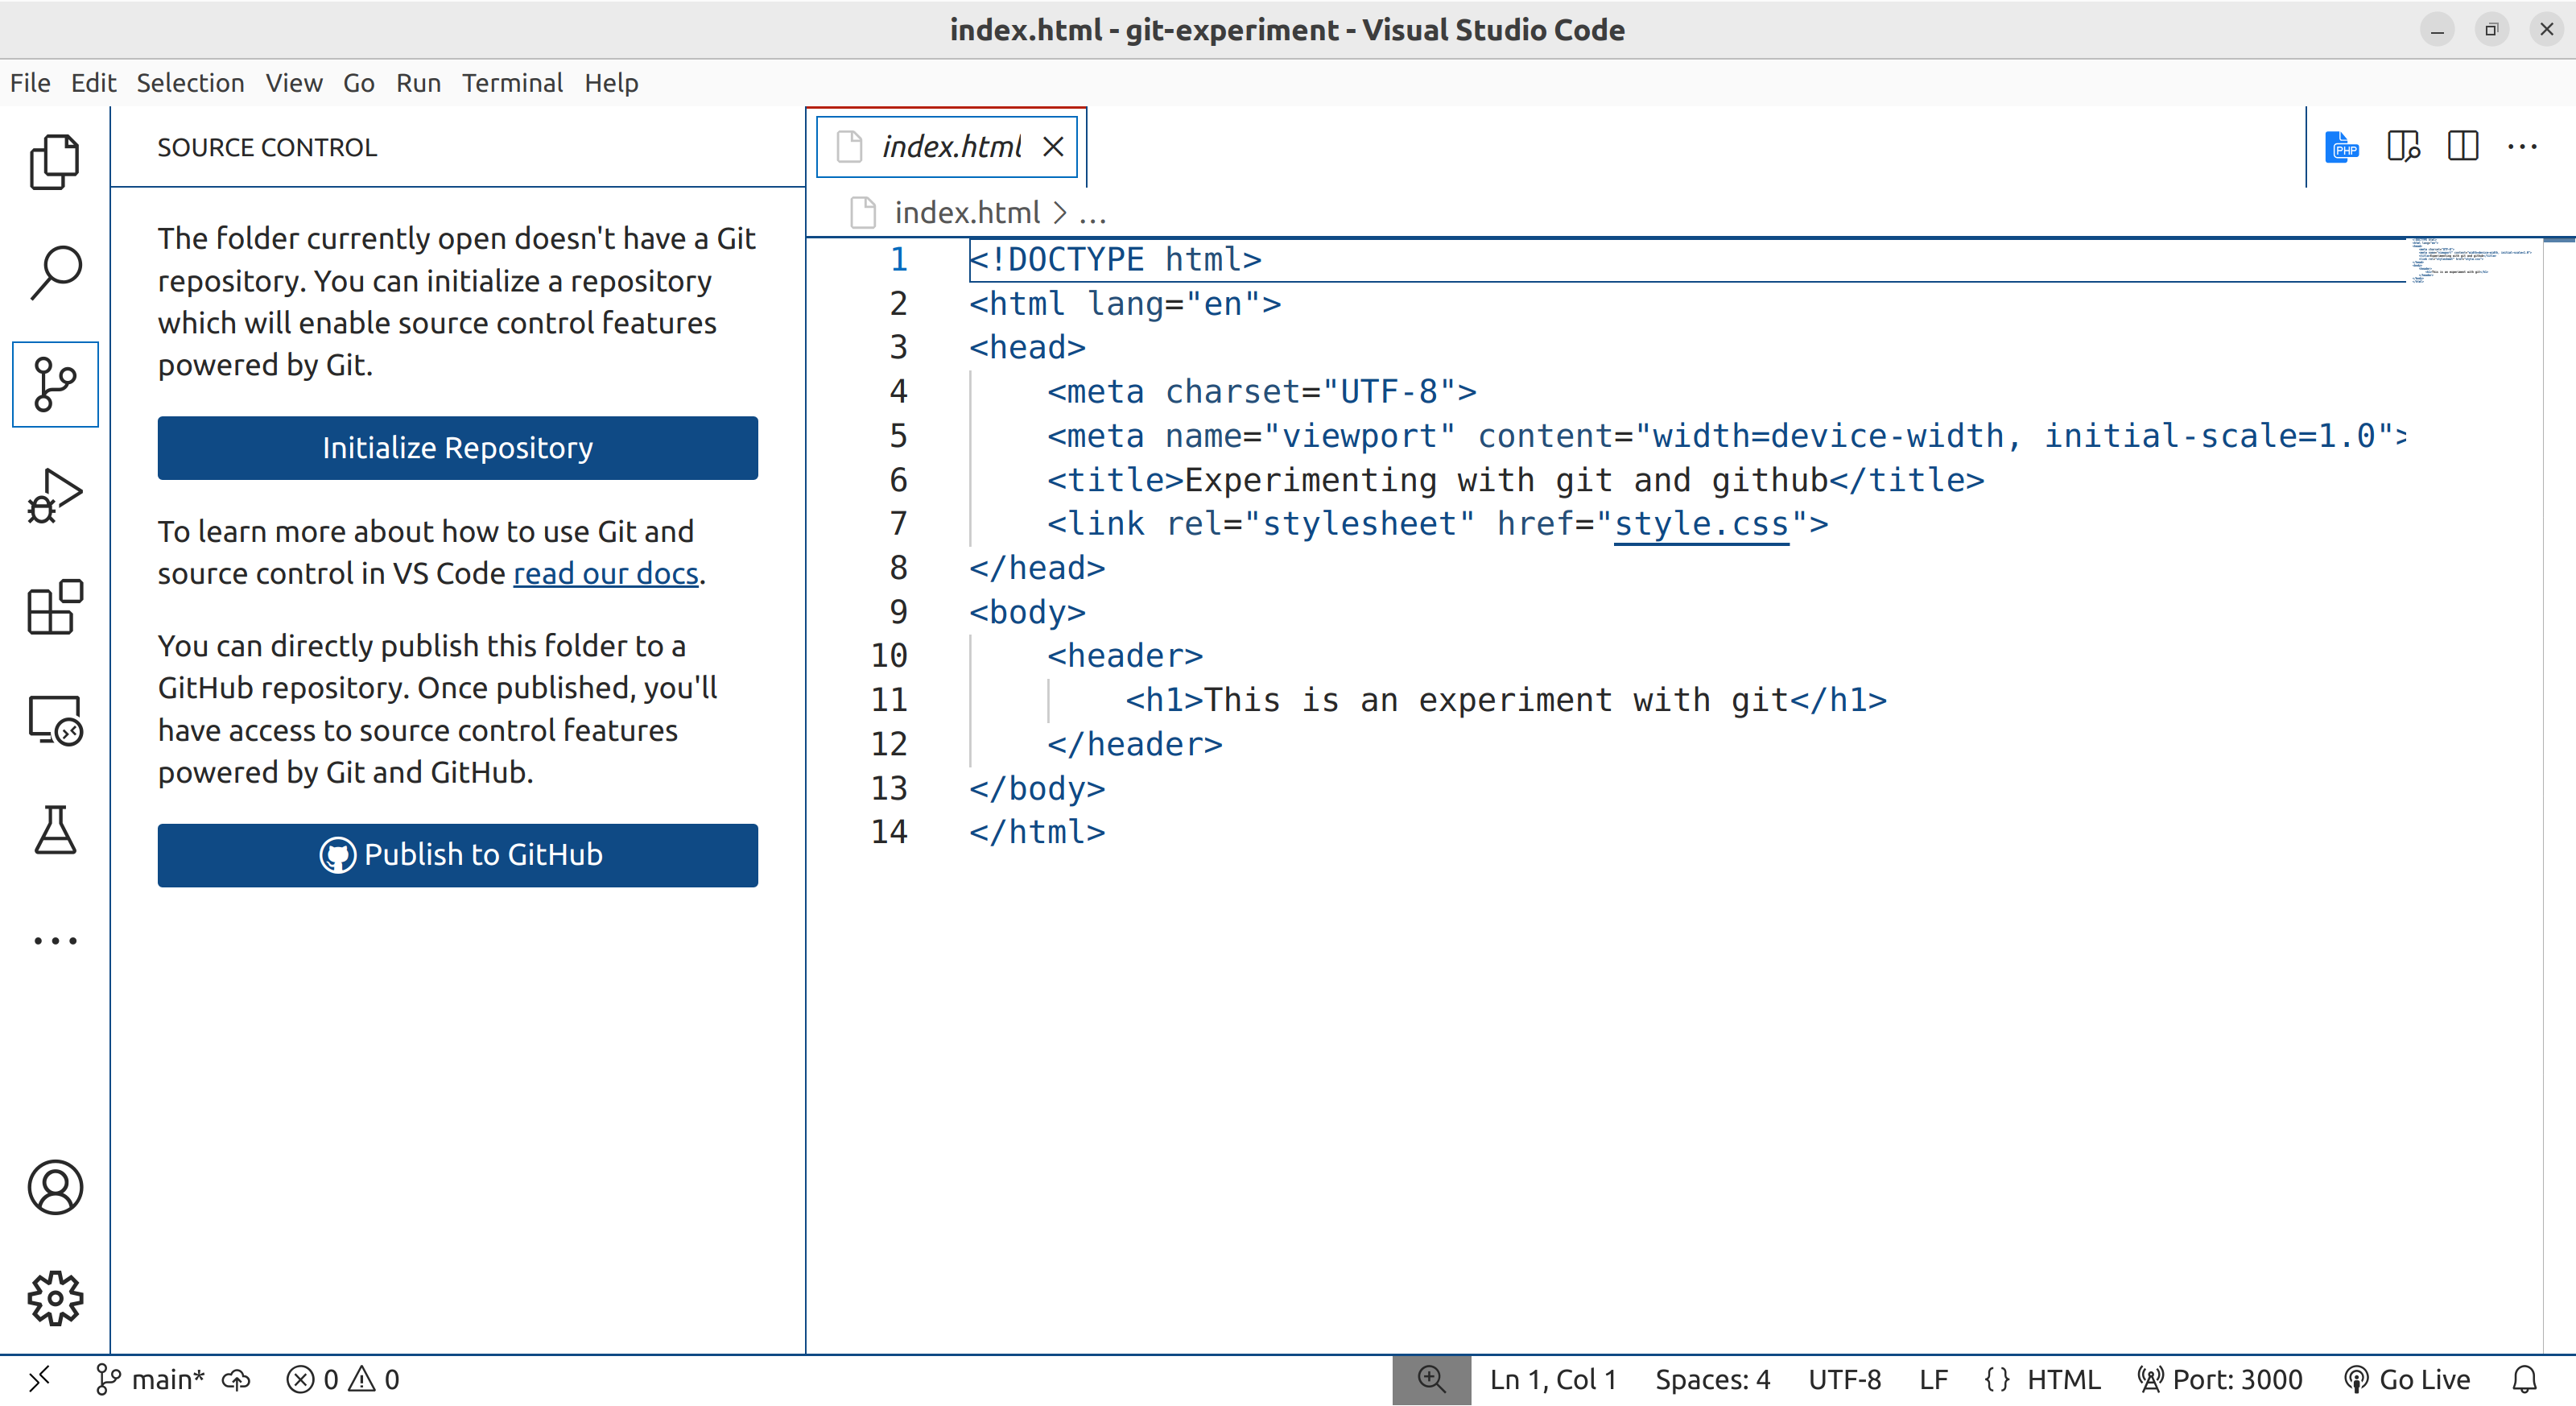
Light mode equivalent
Since there is no git repository found in the current folder, we are presented with the option to initialise a new repository. Click the Initialise Repository button to create a repository.
This button issues the
git initcommand for us.
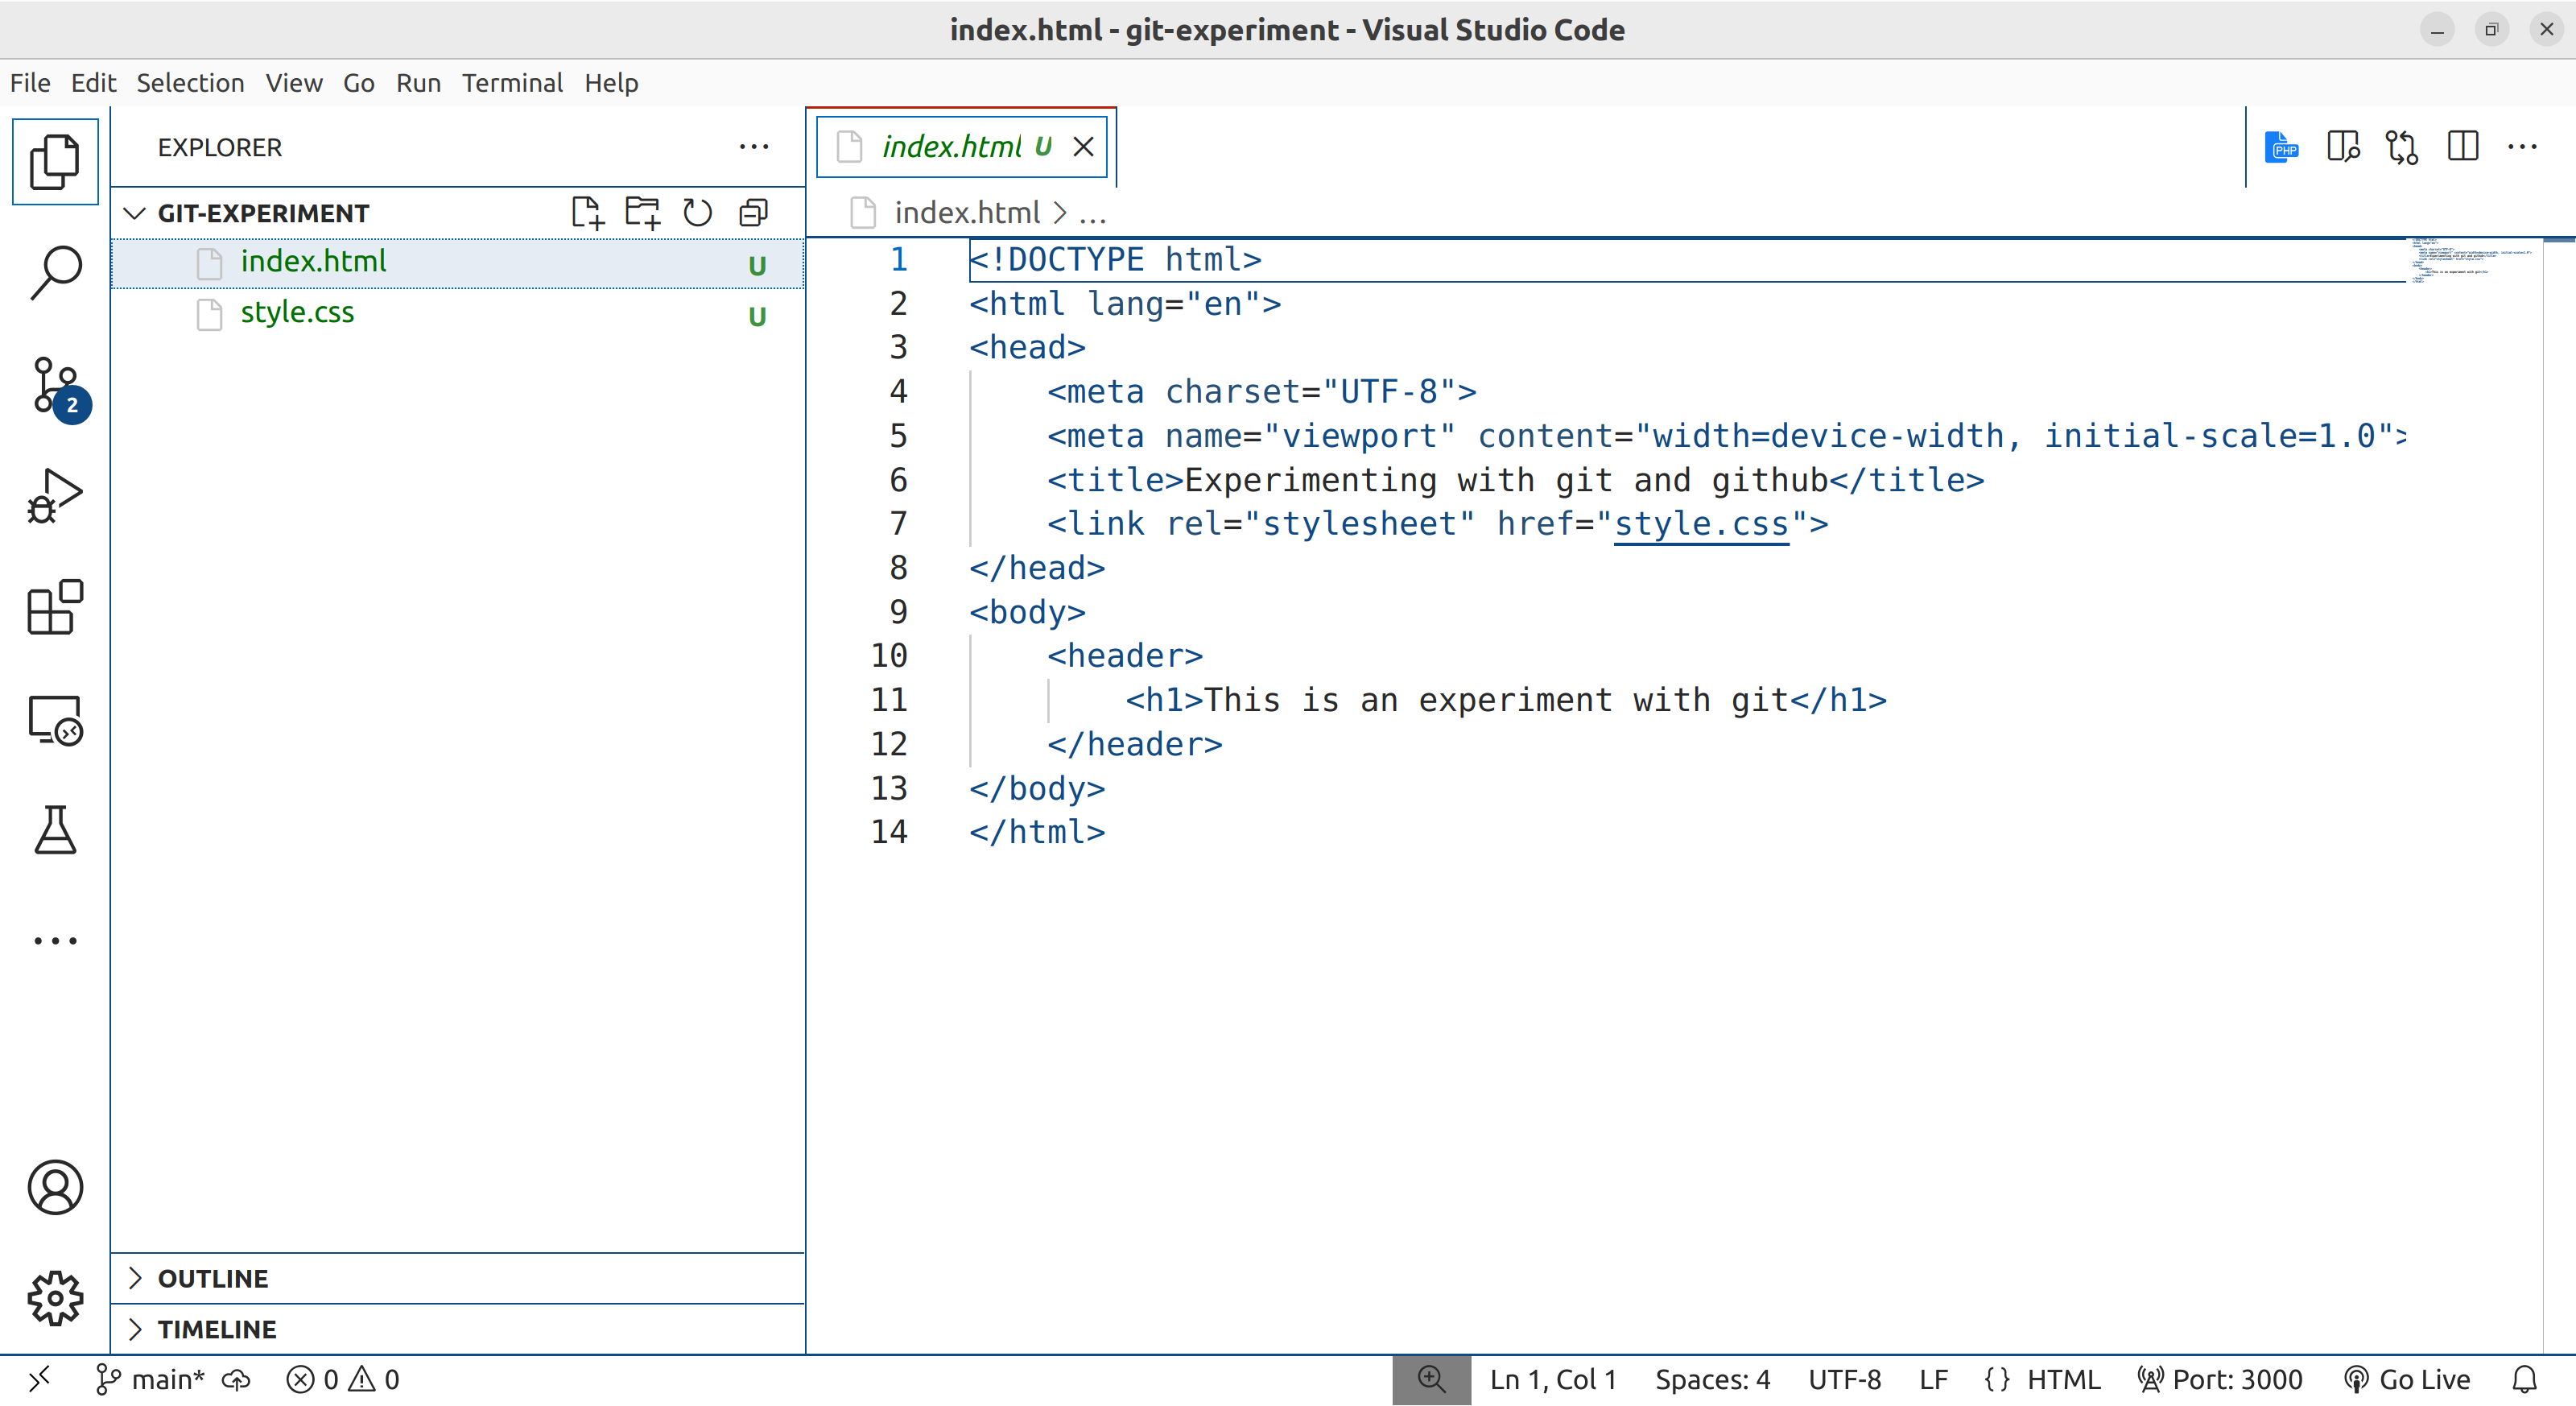
You should now see the source control panel shows two untracked files under changes. The green U next to the filenames indicates that the files are untracked, i.e. they are not yet included in the repository.
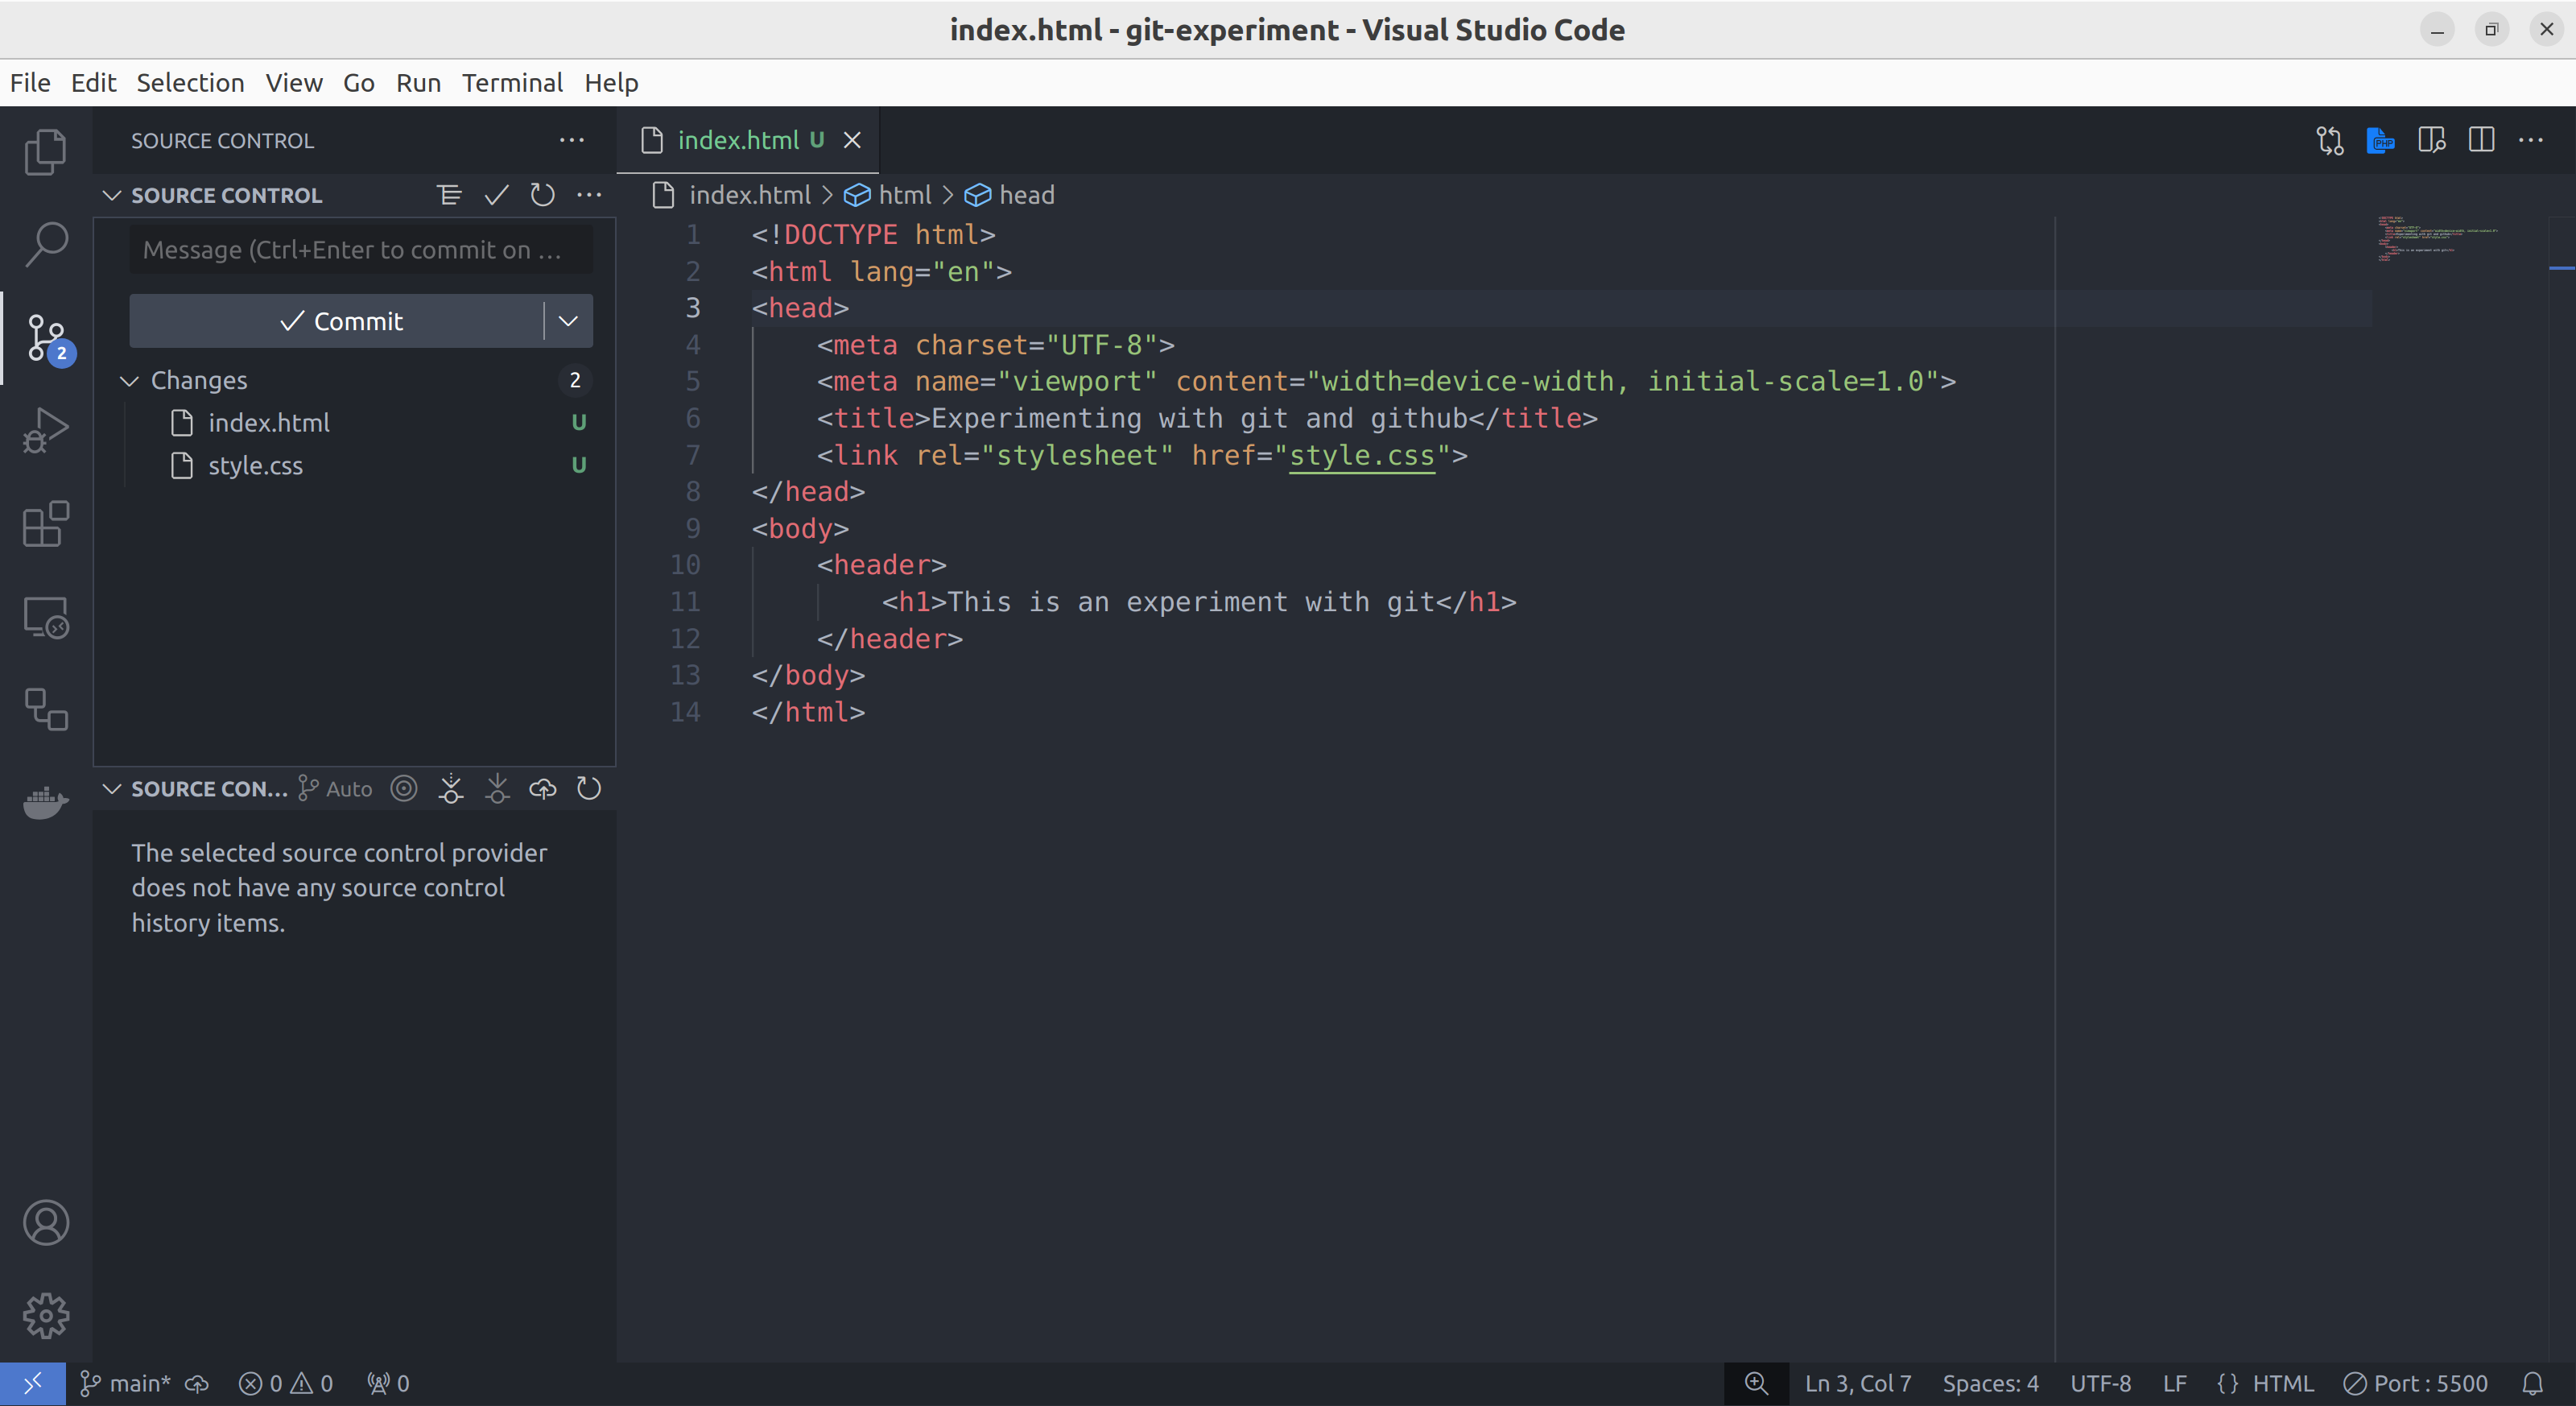
The source control panel on the left shows we have two new files, both are untracked
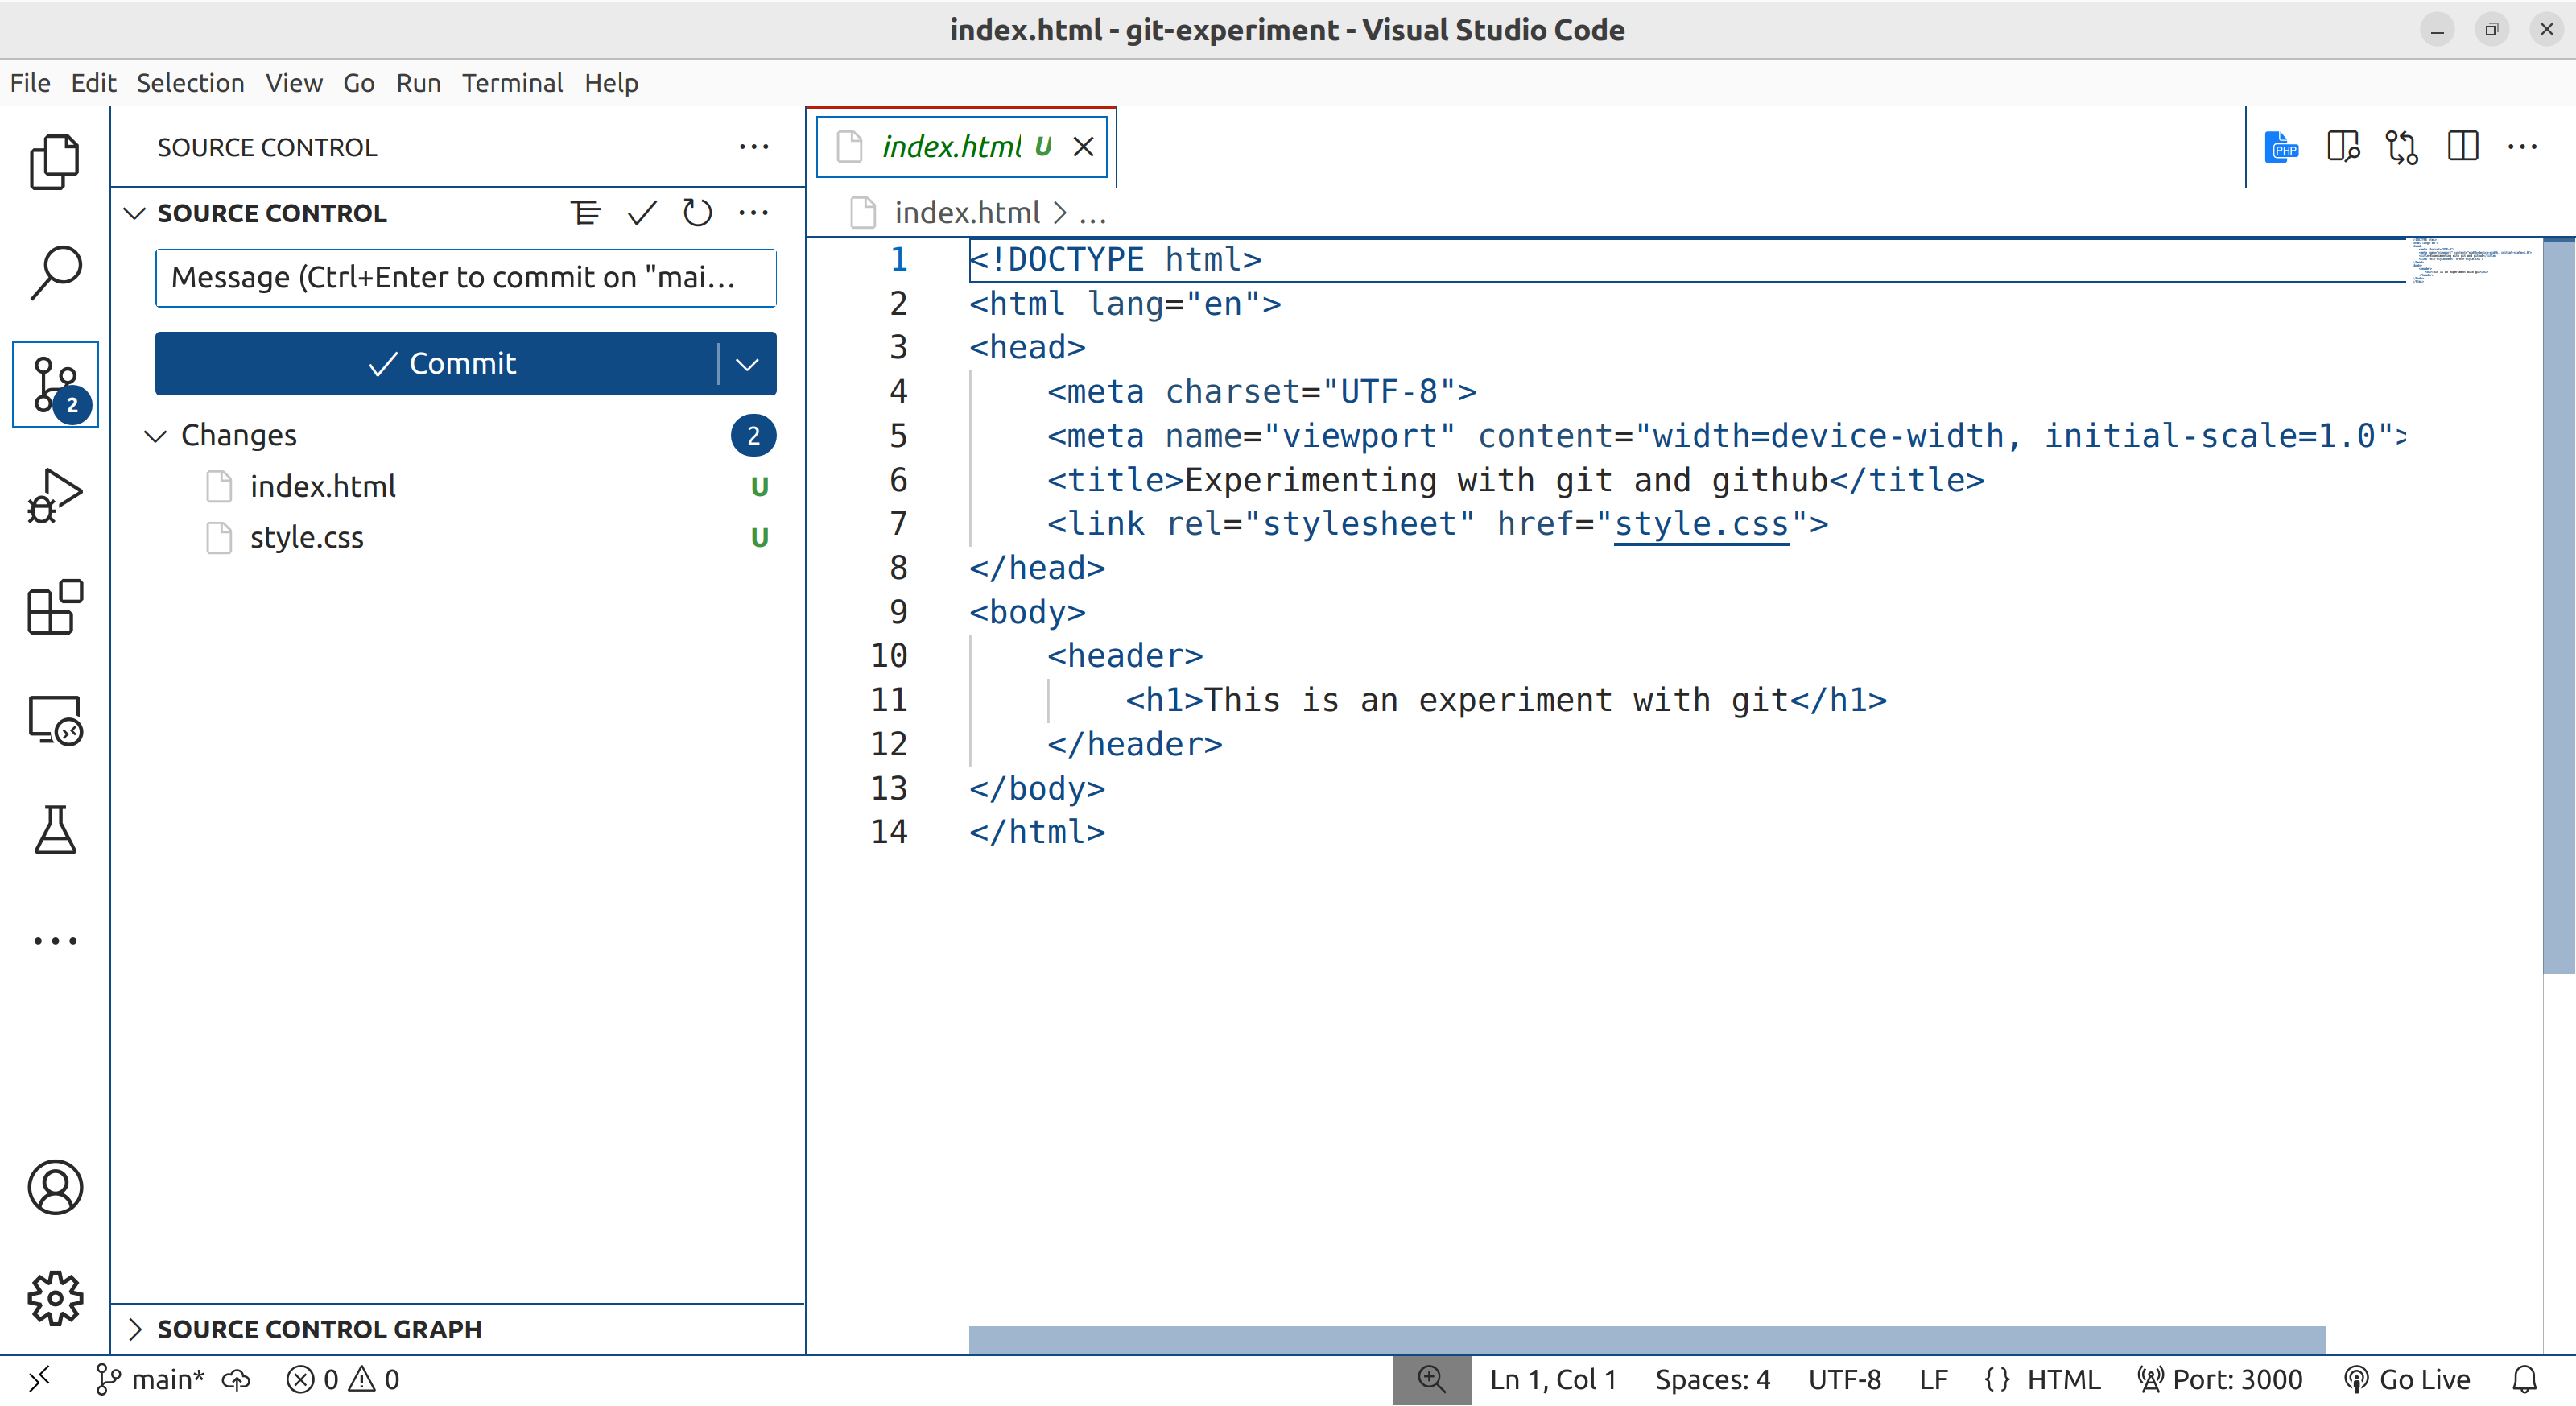
Light mode equivalent
We have successfully created a git repository. From now on, whenever we want to see the state of our repository, we can use the source control panel.
Viewing a diff
We haven’t added any code into our repository yet. In fact, the repository is completely empty. However, we do have some code in our working copy.
The working copy is the contents of the folder in which your git repository has been created. Currently, our working copy contains the latest version of our two files.
Select one of the files and you should be presented with a diff in two panels just as in the screenshot below. This shows the difference between the current working copy of the file compared to the latest version of the code in our repository.
On the left side, the panel is blank, indicating that this file doesn’t yet exist in the repository. On the right side, you are shown the entire content of the file highlighted green, indicating these are all additional lines.
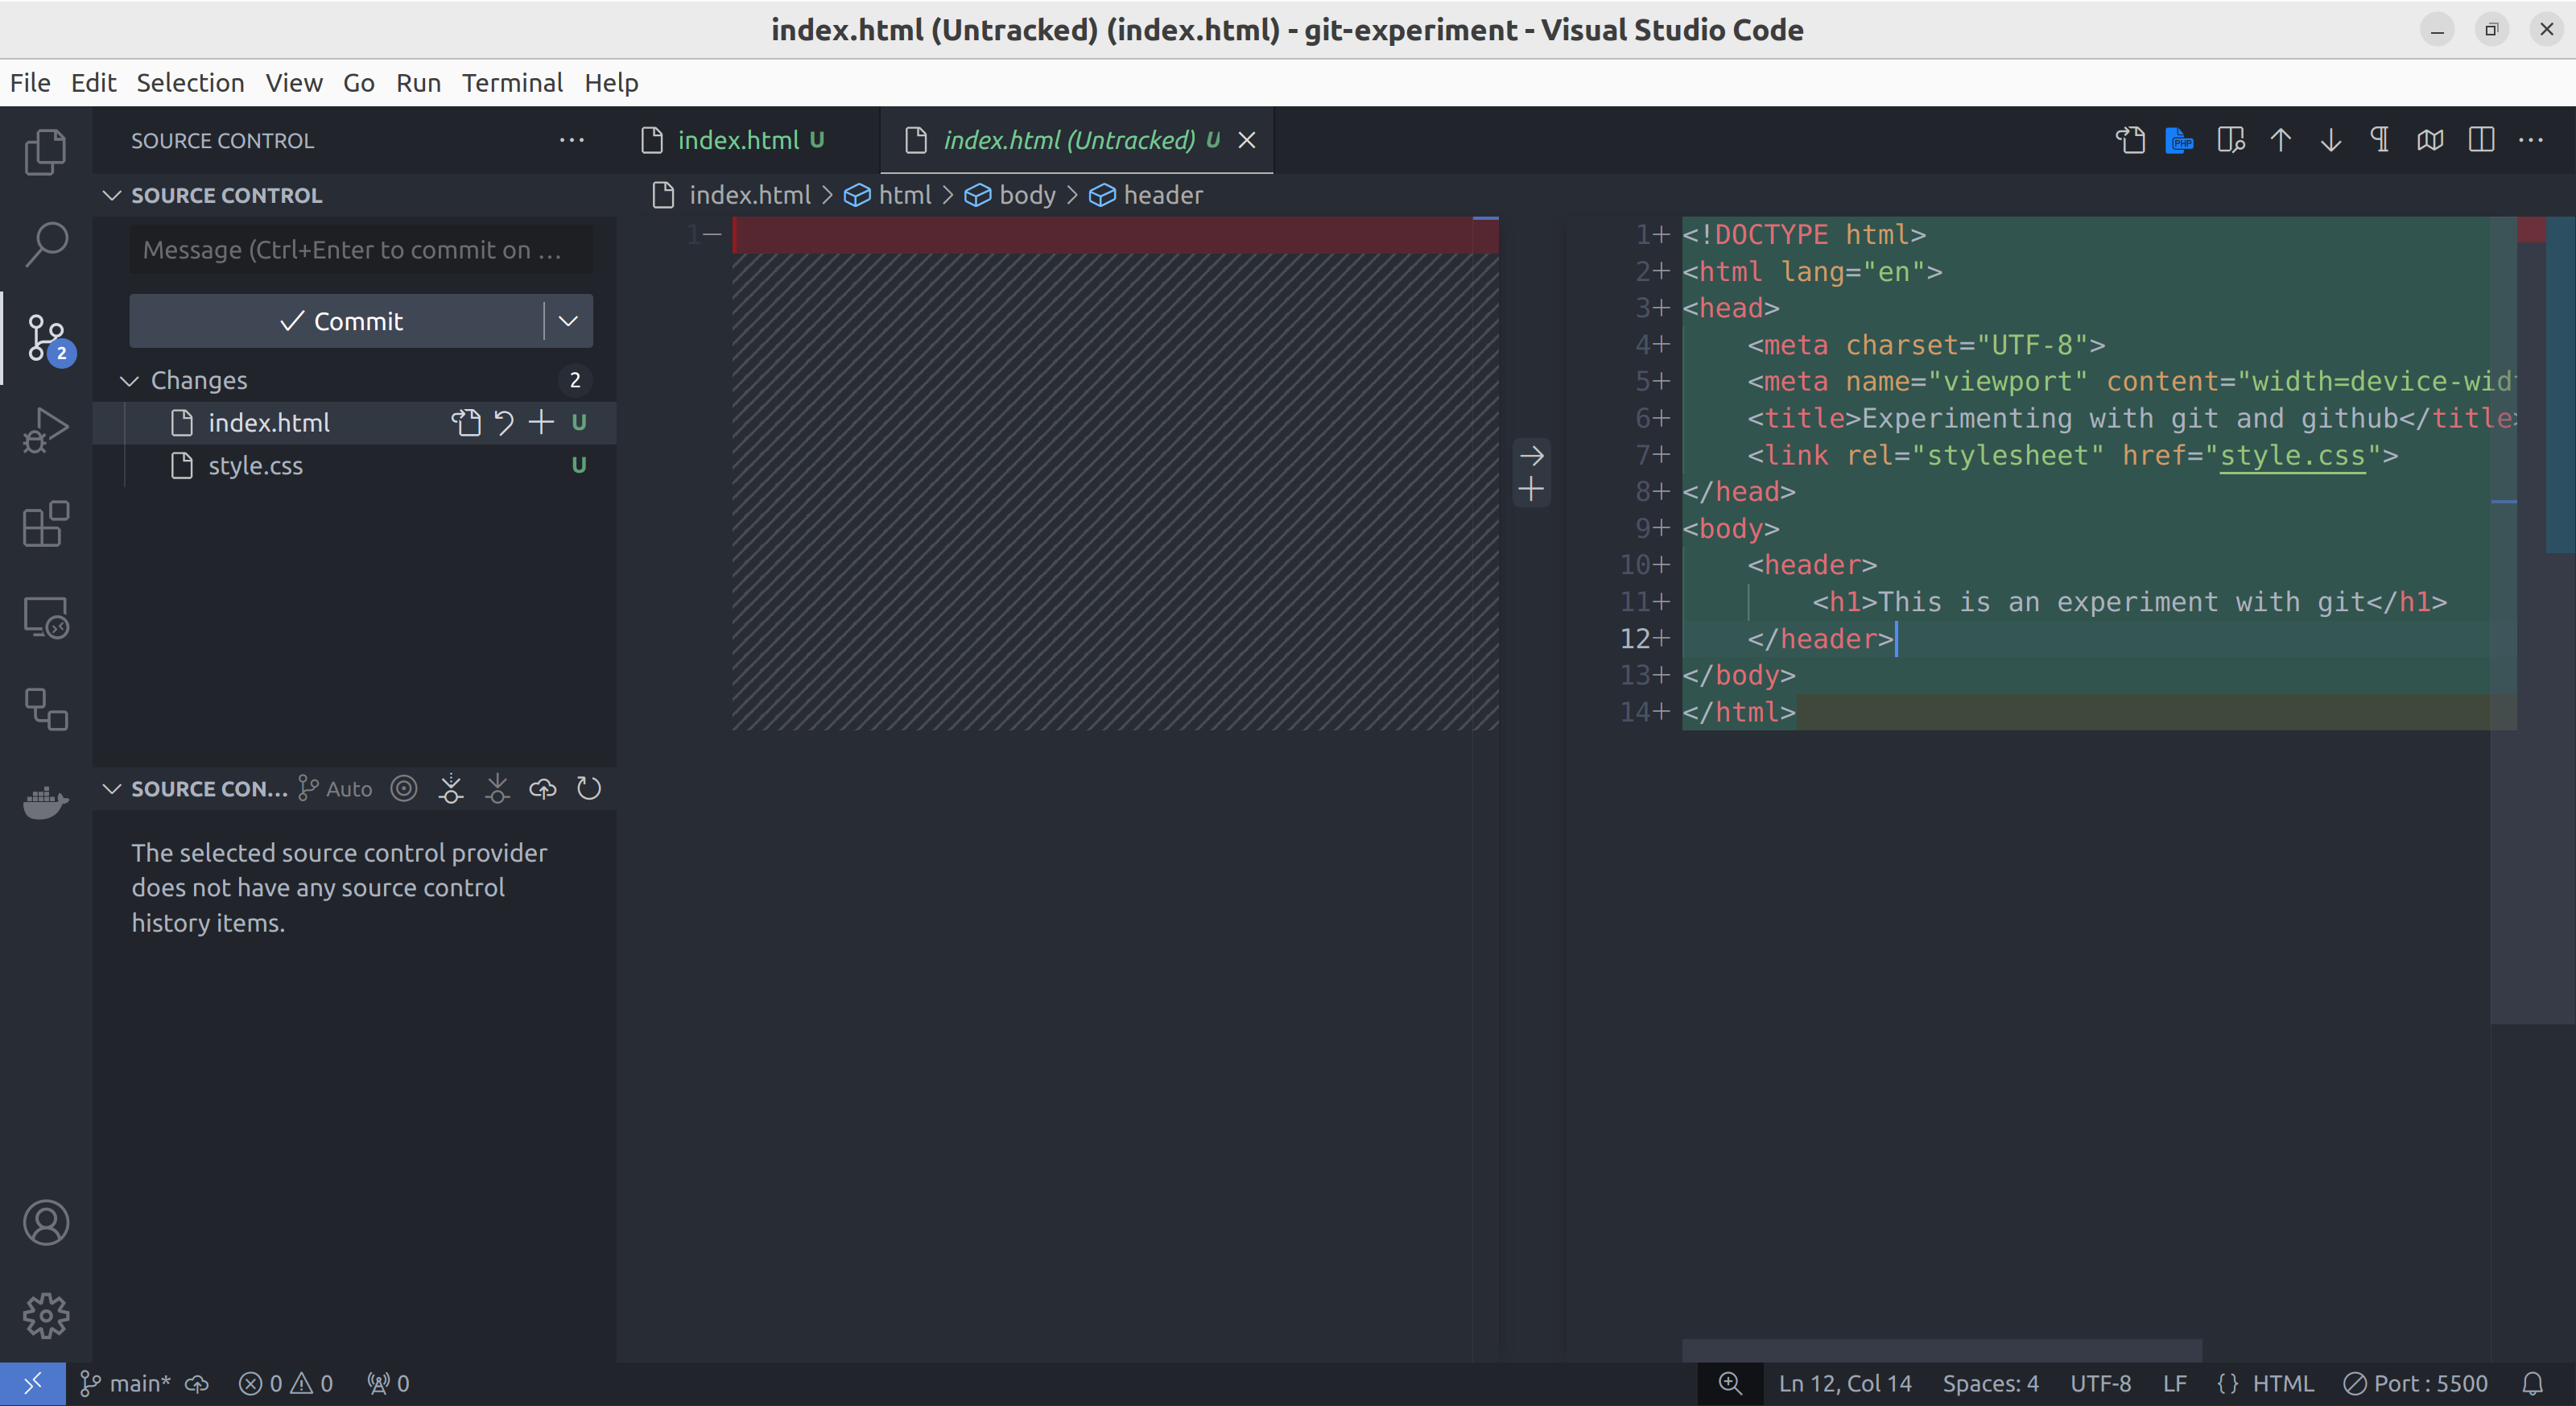
Our diff shows the original file was empty so all the lines are new.
With a new file the diff isn’t very interesting. However, we shall see later that this view shows exactly what has changed since the last commit.
You may not see this for untracked files in newer versions of VSCode In which case, don’t worry. When we make a change, you will see a diff.
Newer versions of VSCode will show this (light mode)
Create our first commit
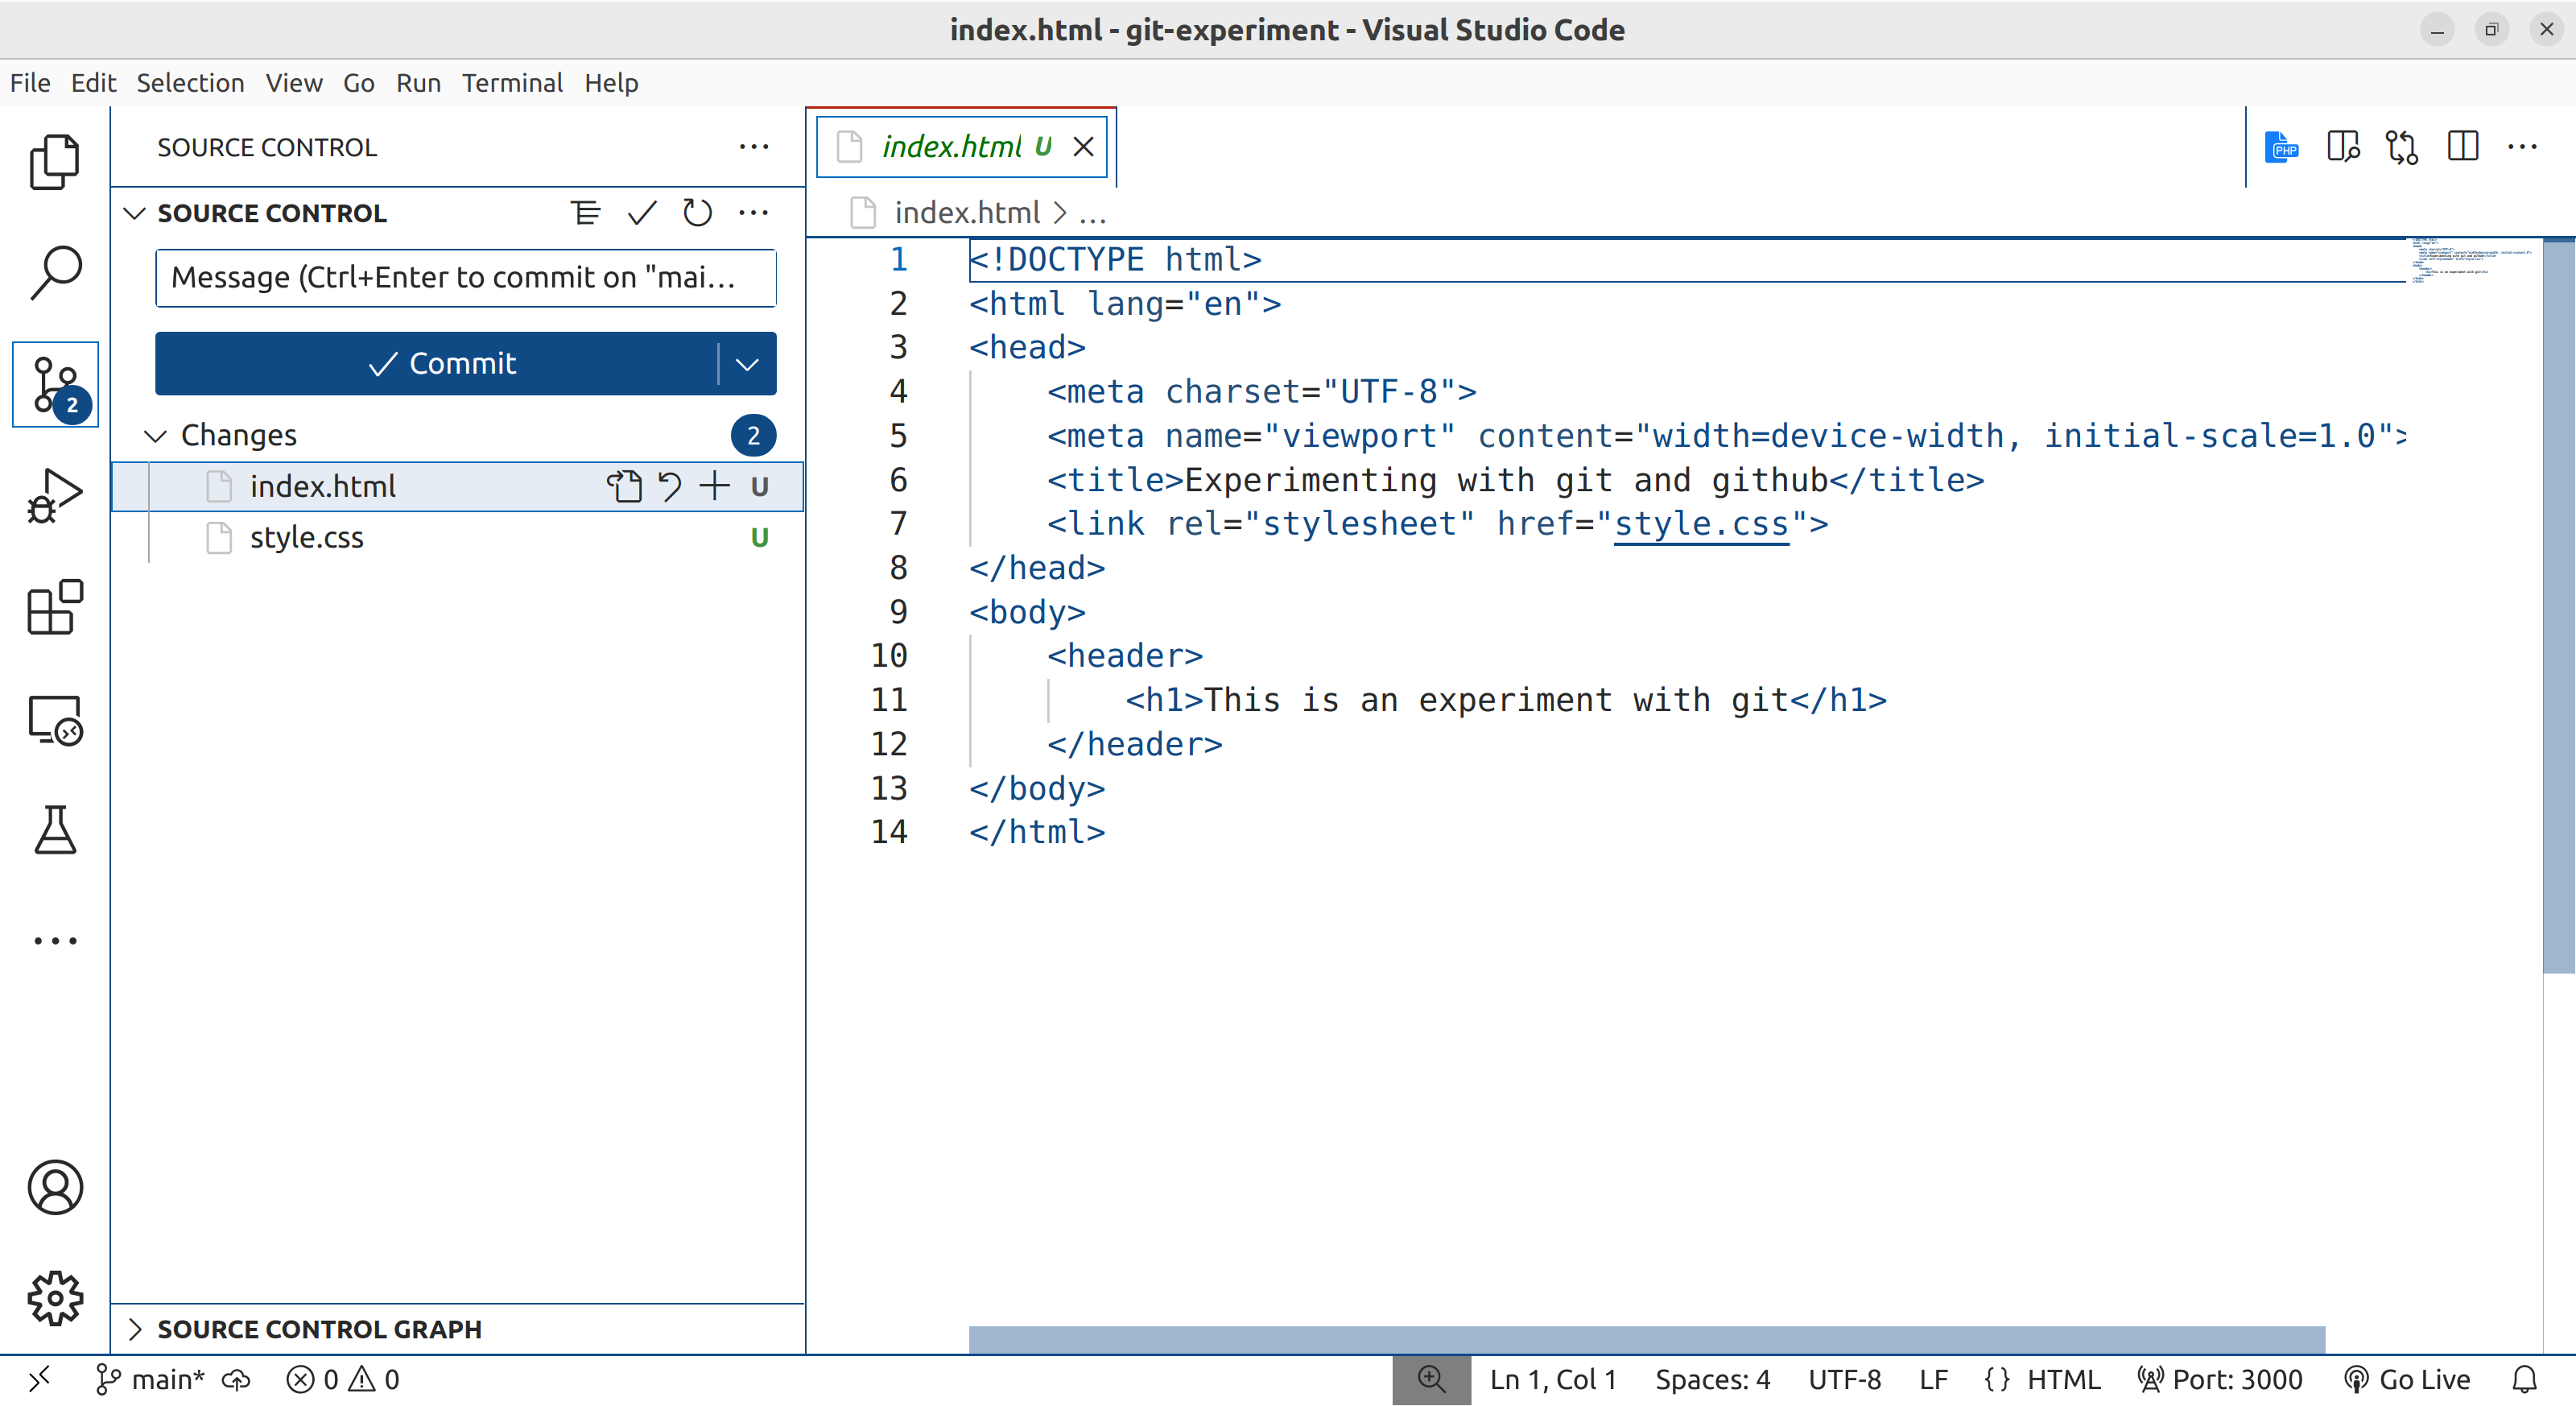
Notice that, in the source control panel on the left, we have icons next to each file name. Hovering the mouse over these shows their purpose.
We have two main options:
- We can revert our code to the last commit (i.e. delete the file in this case) or
- We can add the changes into a new commit (i.e. prepare to save the changes into the repository).
These should indicate one huge benefit of git. We can create save points (commits) in our development process and revert our code back to the last save point at any time.
Before committing, git requires that we place changes into a staging area ready to commit. This facility allows us to compose a commit based on a subset of the changes we have made. In this case, we will add all our changes into the staging area.
Add each file individually to the staging area using the little + icon next to the file name. When you do this, you should see the files move from changes to staged changes.
At this point we can add a commit message to explain what changes were made in the commit.
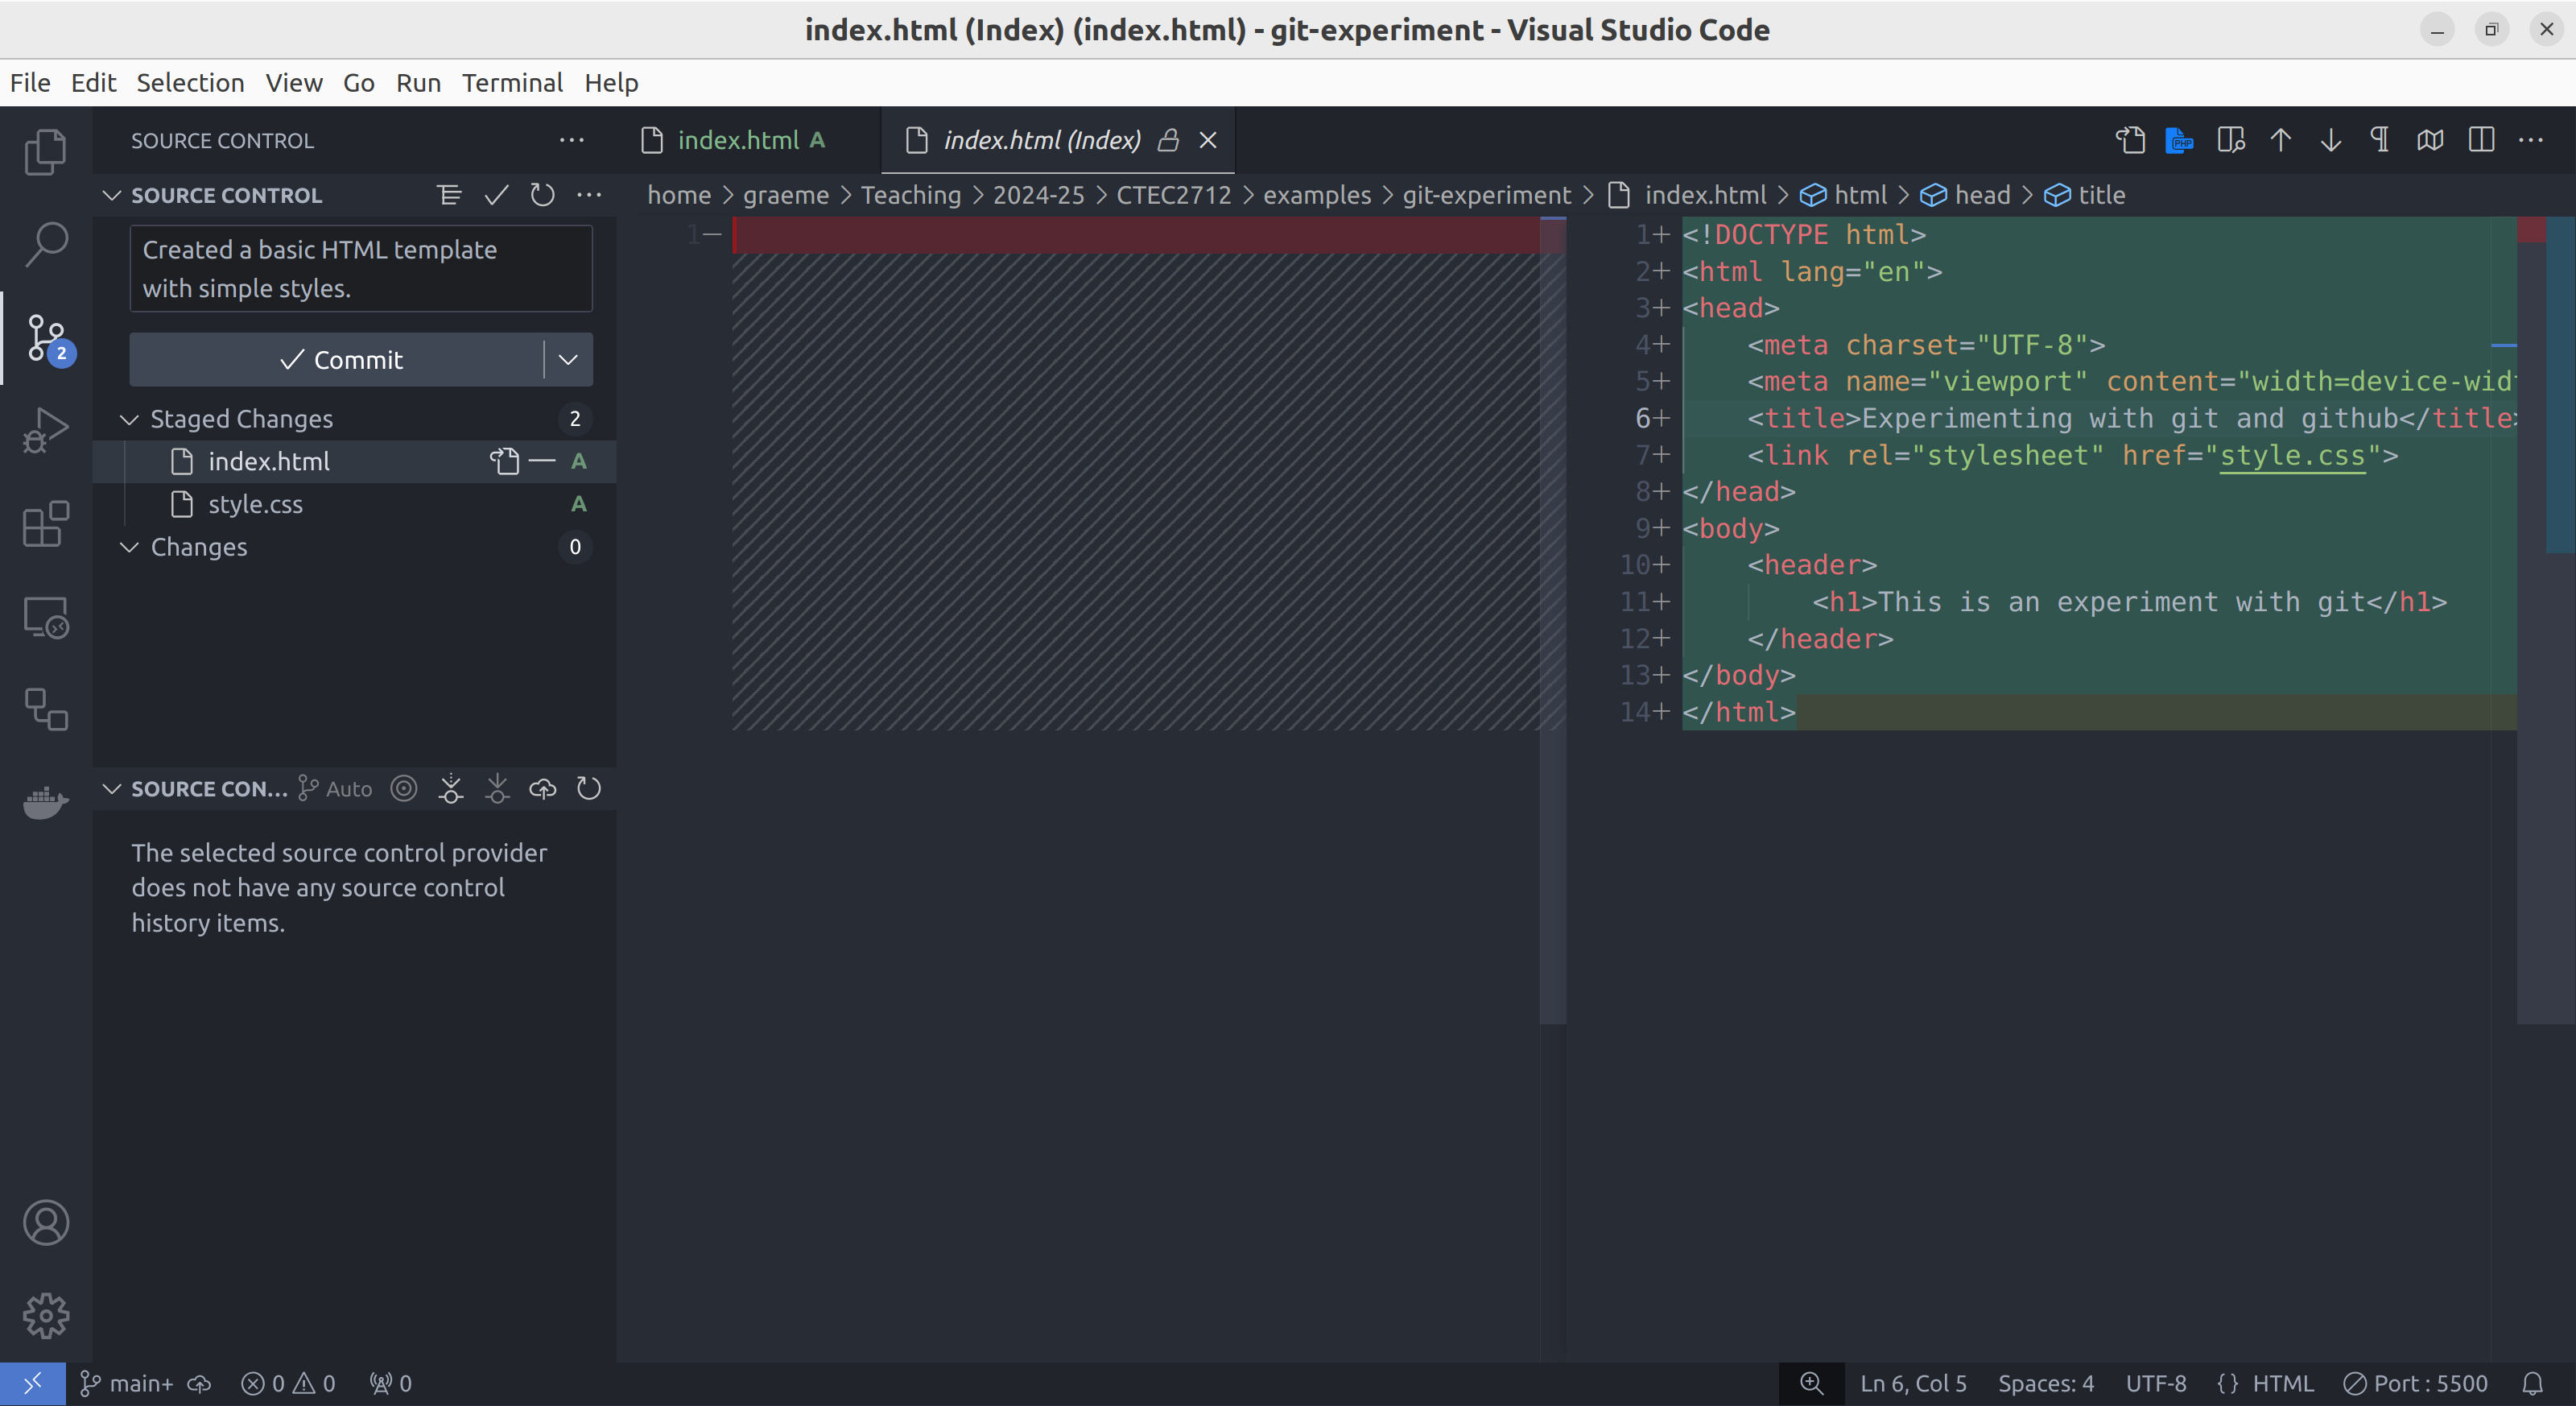
The source control panel on the left shows we have staged both files and entered a commit message.
Again, you may only see one panel as in the below light mode version
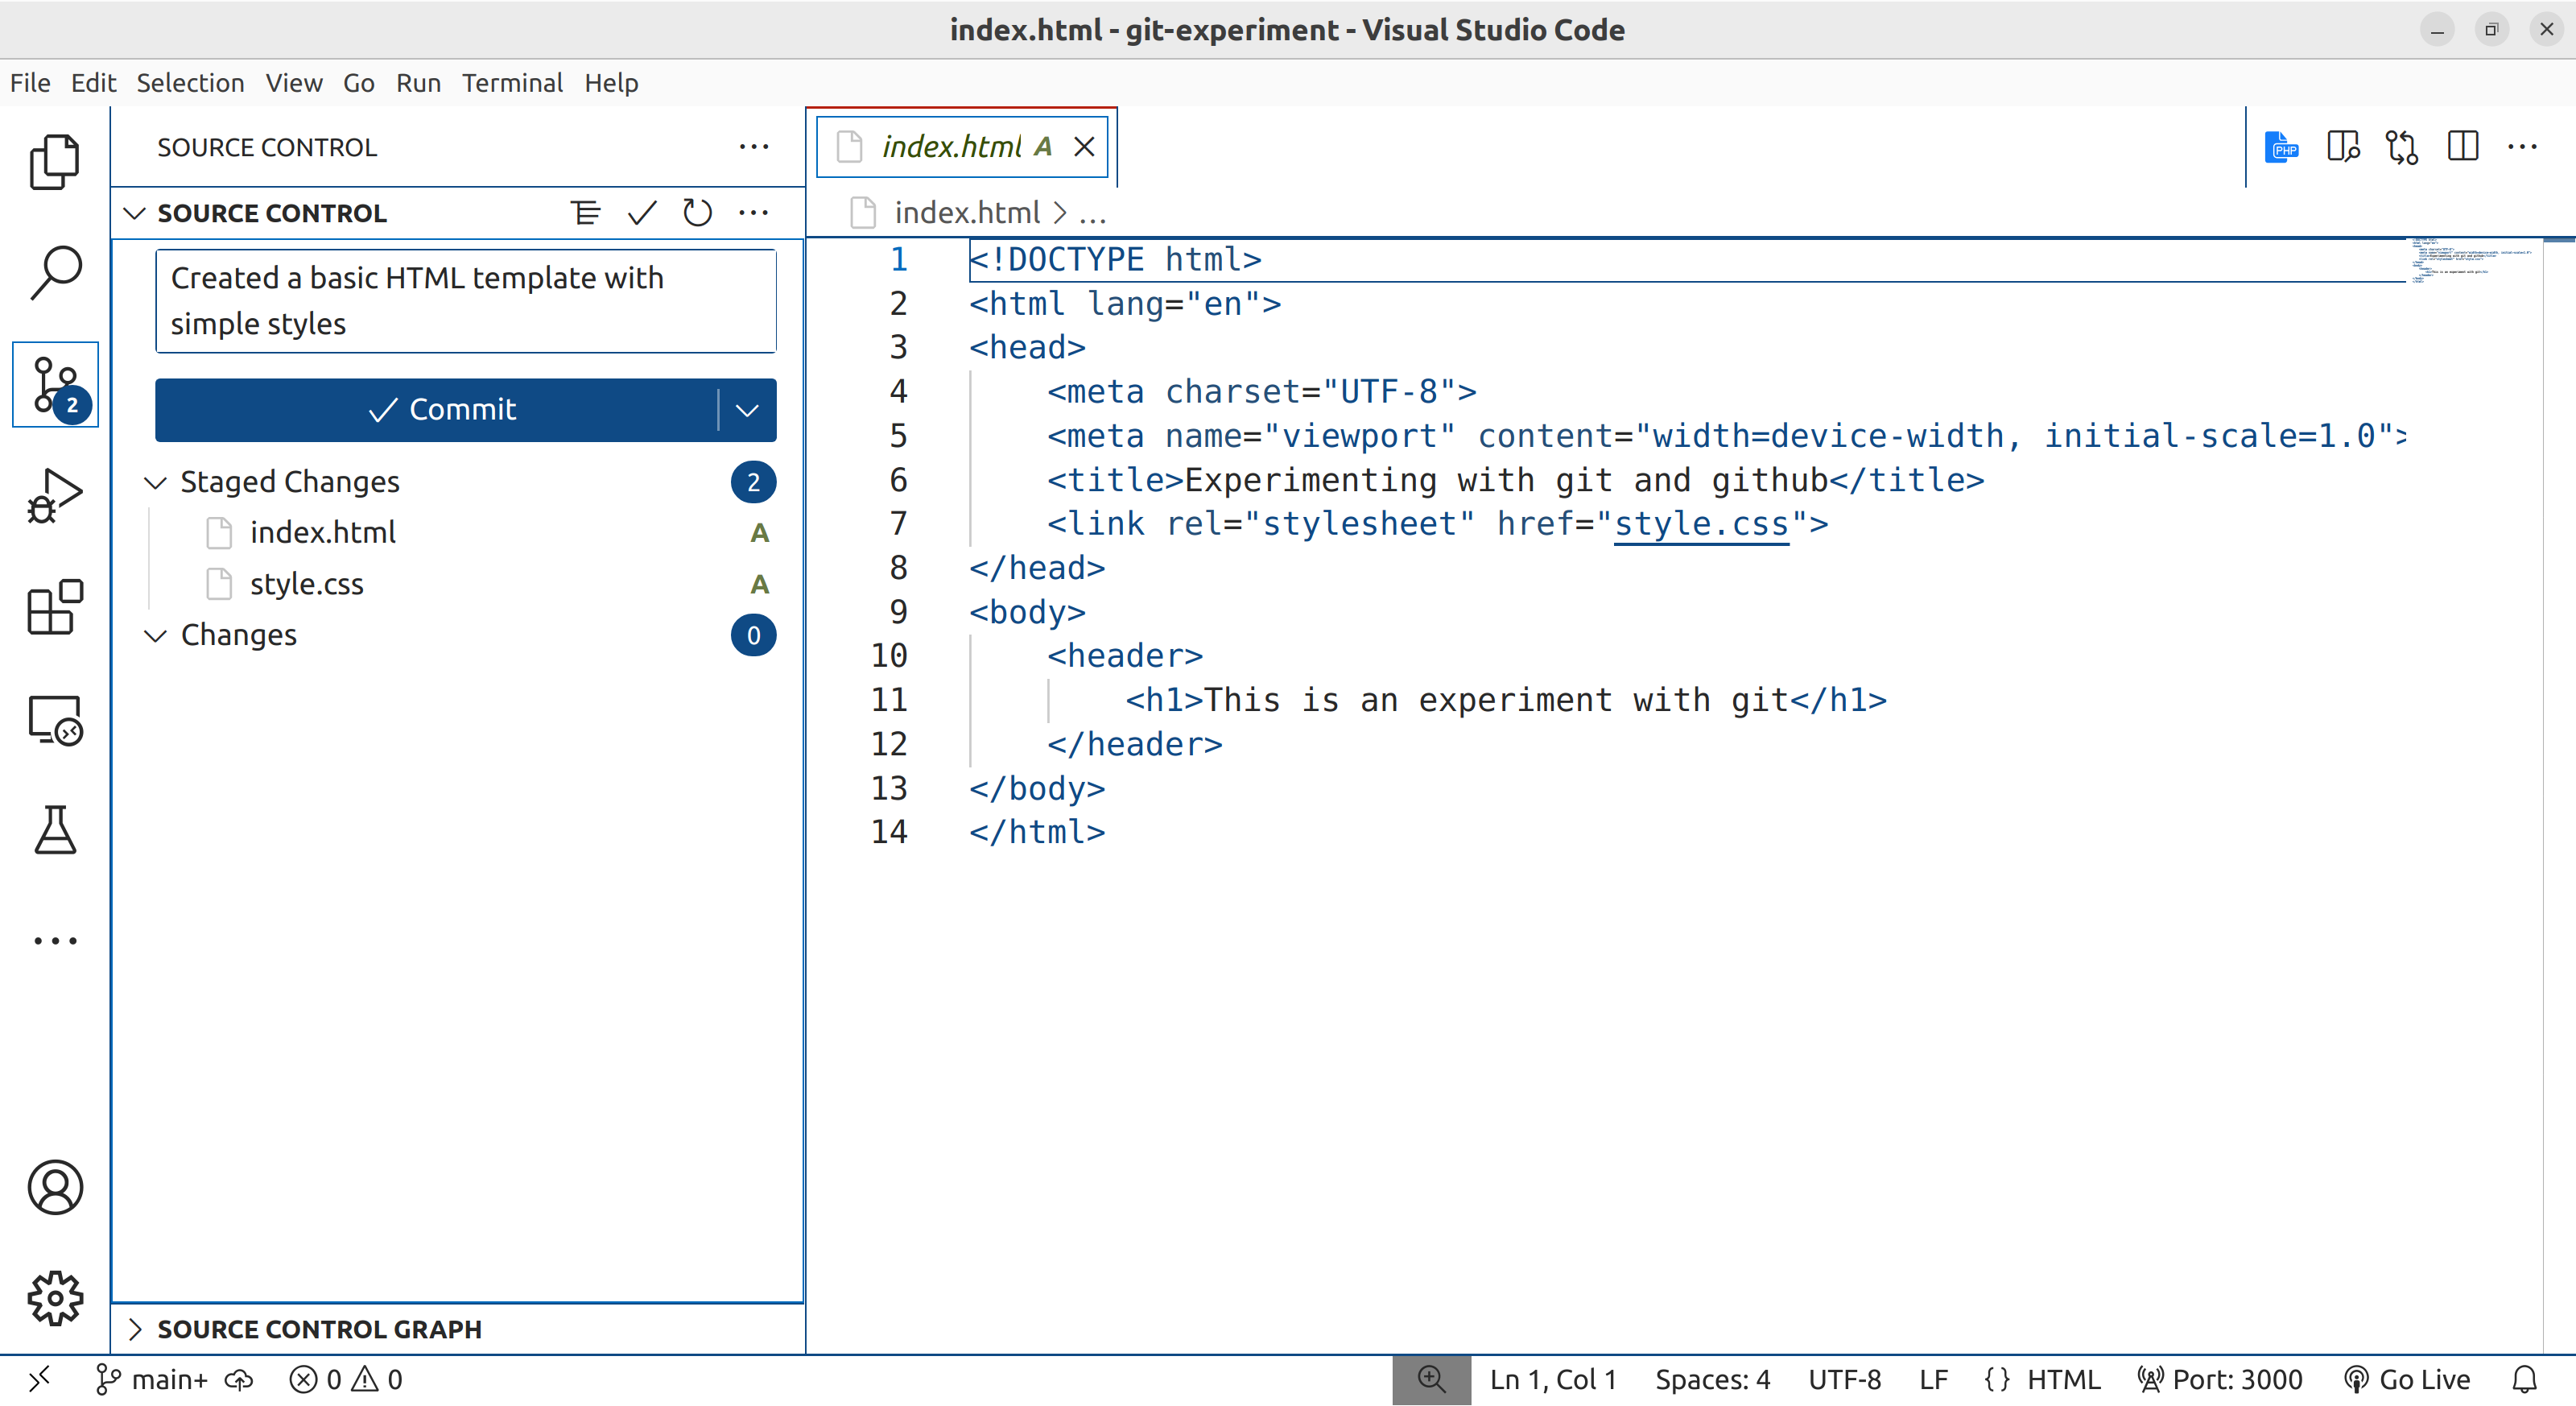
Light mode equivalent.
Notice the message in the screenshots above, it’s at the top of the source control panel.
Created a basic HTML template with simple stylesIt is good practice to add a simple message to every commit. Over the course of a project, these messages accumulate into a long list of messages explaining the evolution of the code.
The staged changes will create a commit when we press the commit button. If you haven’t done so, stage both files. Now enter a message and commit the changes by pressing the commit button.
At this point you may get an error relating configuring your ‘user.name’ and your ‘user.email’ in git. In which case you need to open a git terminal (e.g. git bash on windows, or a terminal on linux or mac) and enter the following commands.
1
2
git config --global user.name "Your Name" git config --global user.email your@email.comThese details are attached to each commit so we know who made each contribution.
A second commit
Your diff should now show that no changes have been made since the last commit. Now we can edit our working copy and see our edits highlighted as diffs.
- Go back to the explorer panel and make changes to both files.
- Check the source control panel again and you should see your changes are highlighted in the diffs.
Switching between the different VSCode panels should become a habit. The icons on the left of the VSCode window are not all as useful as the source control and explorer panels.
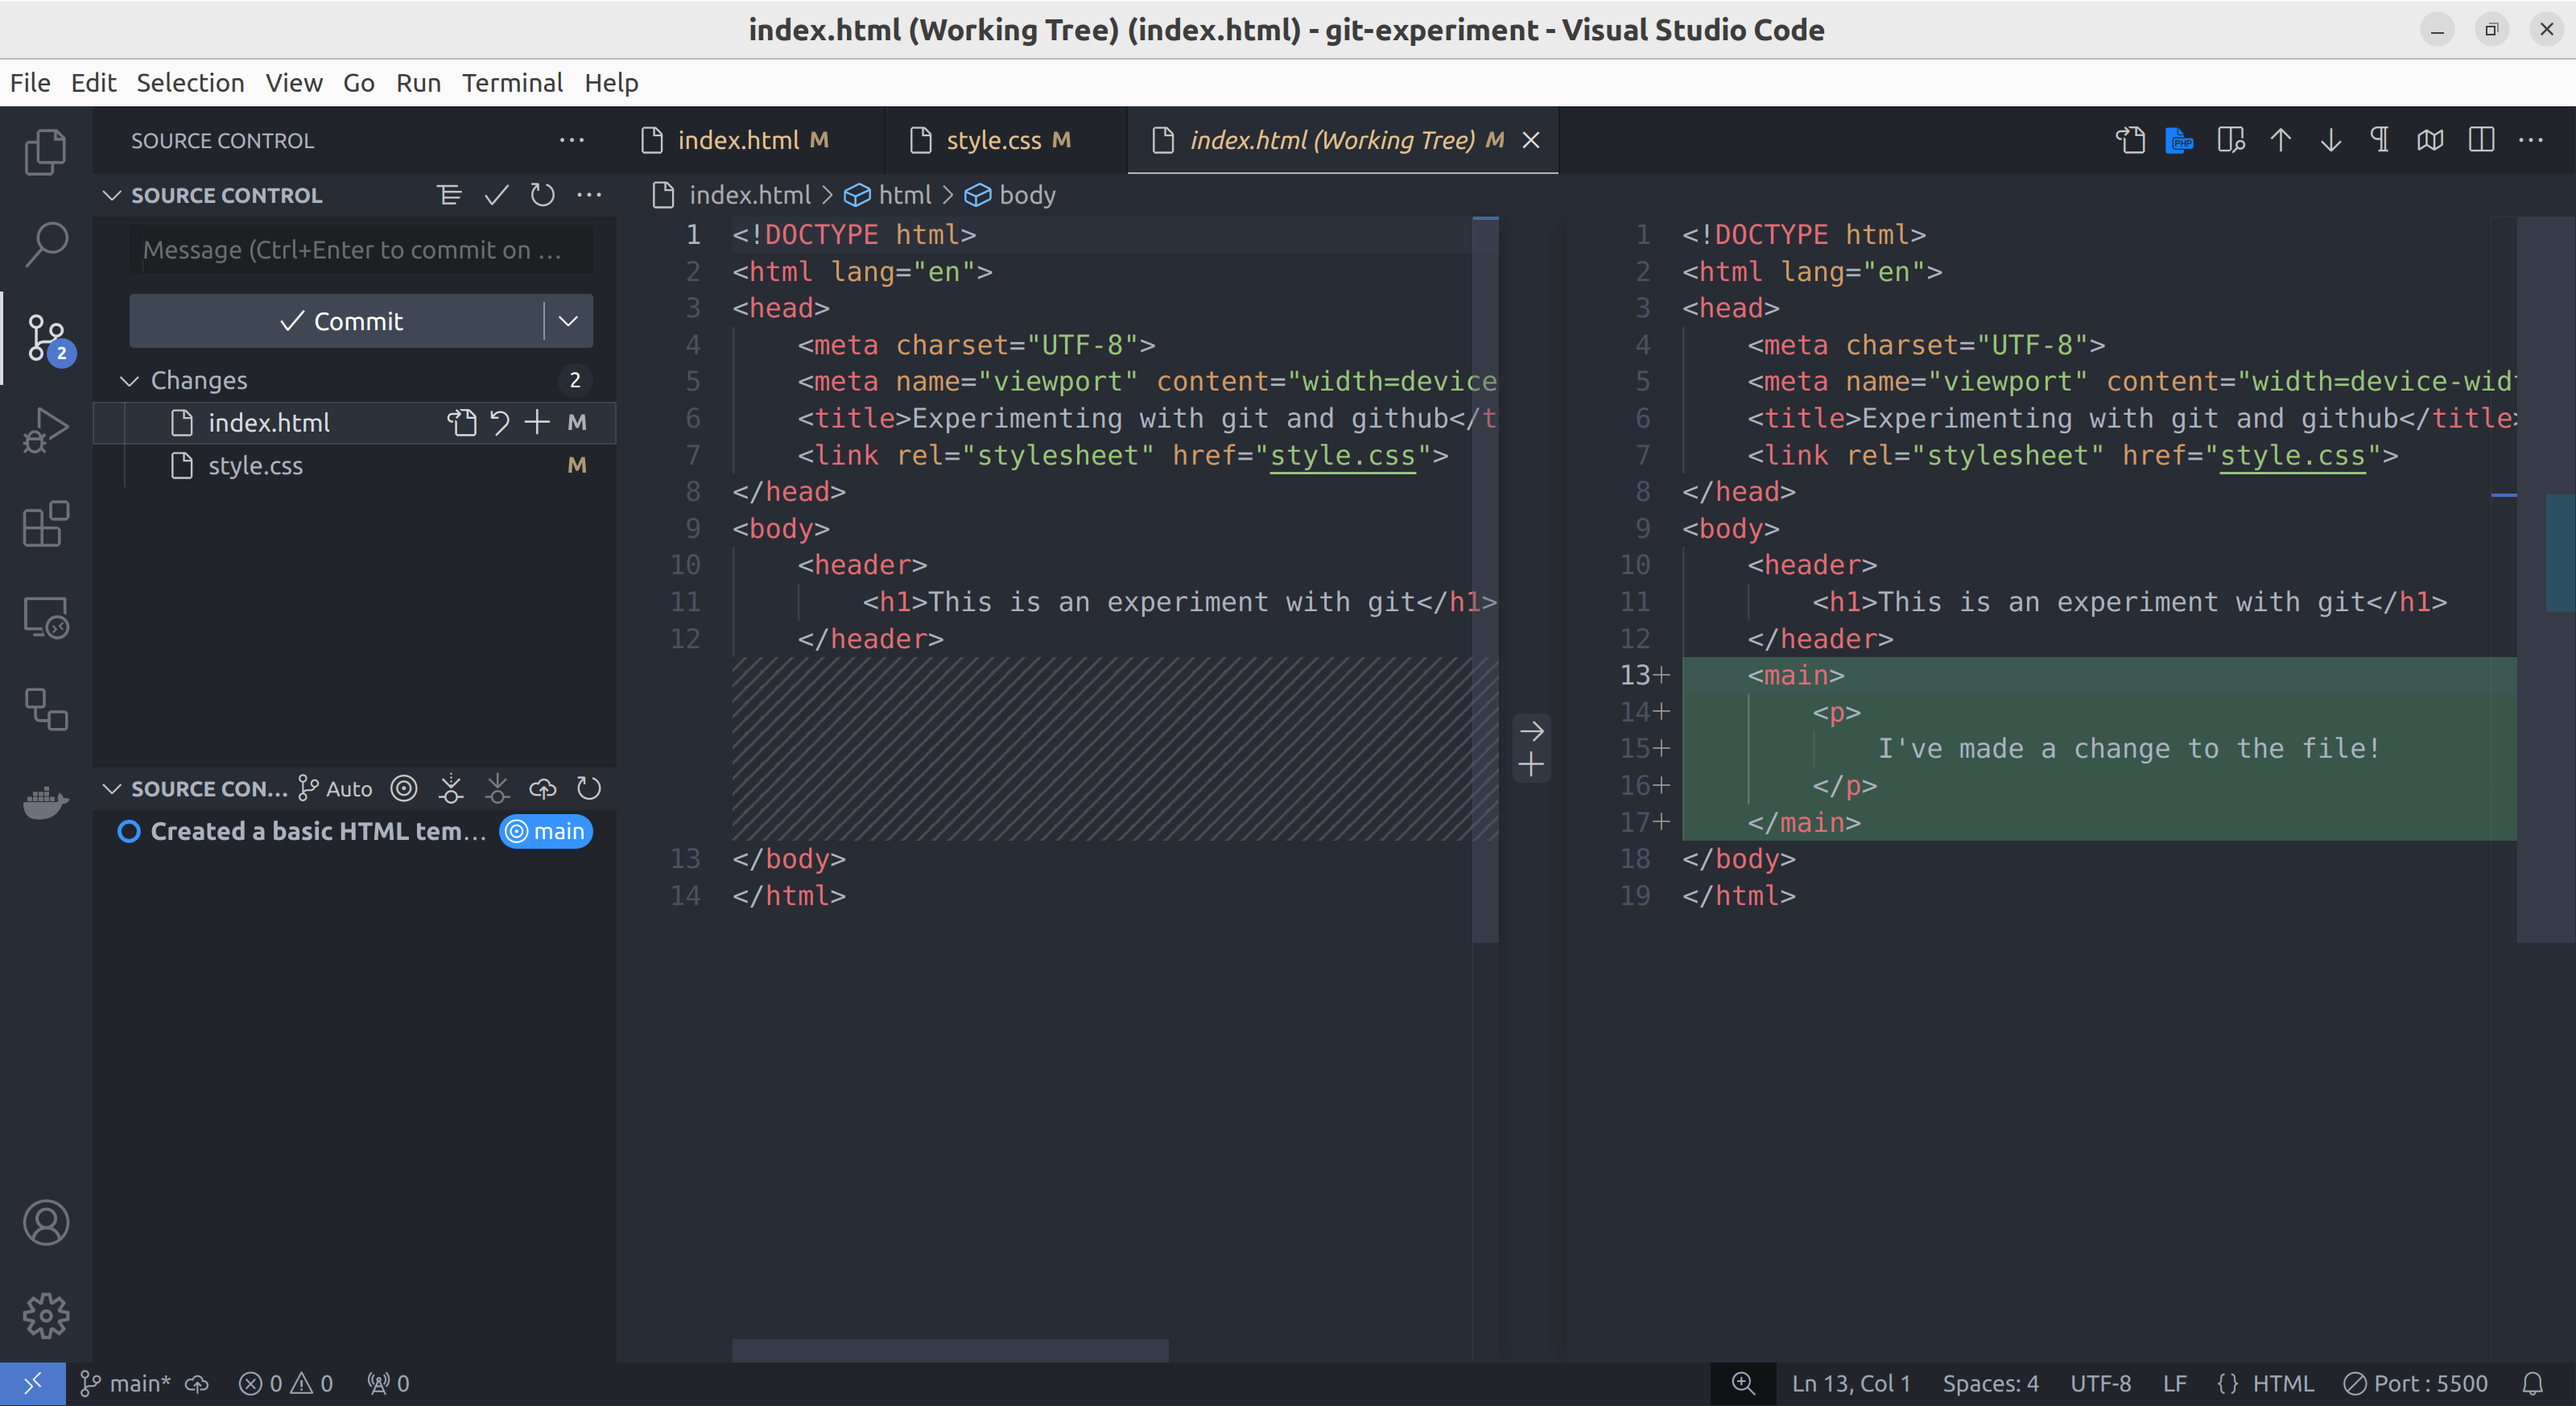
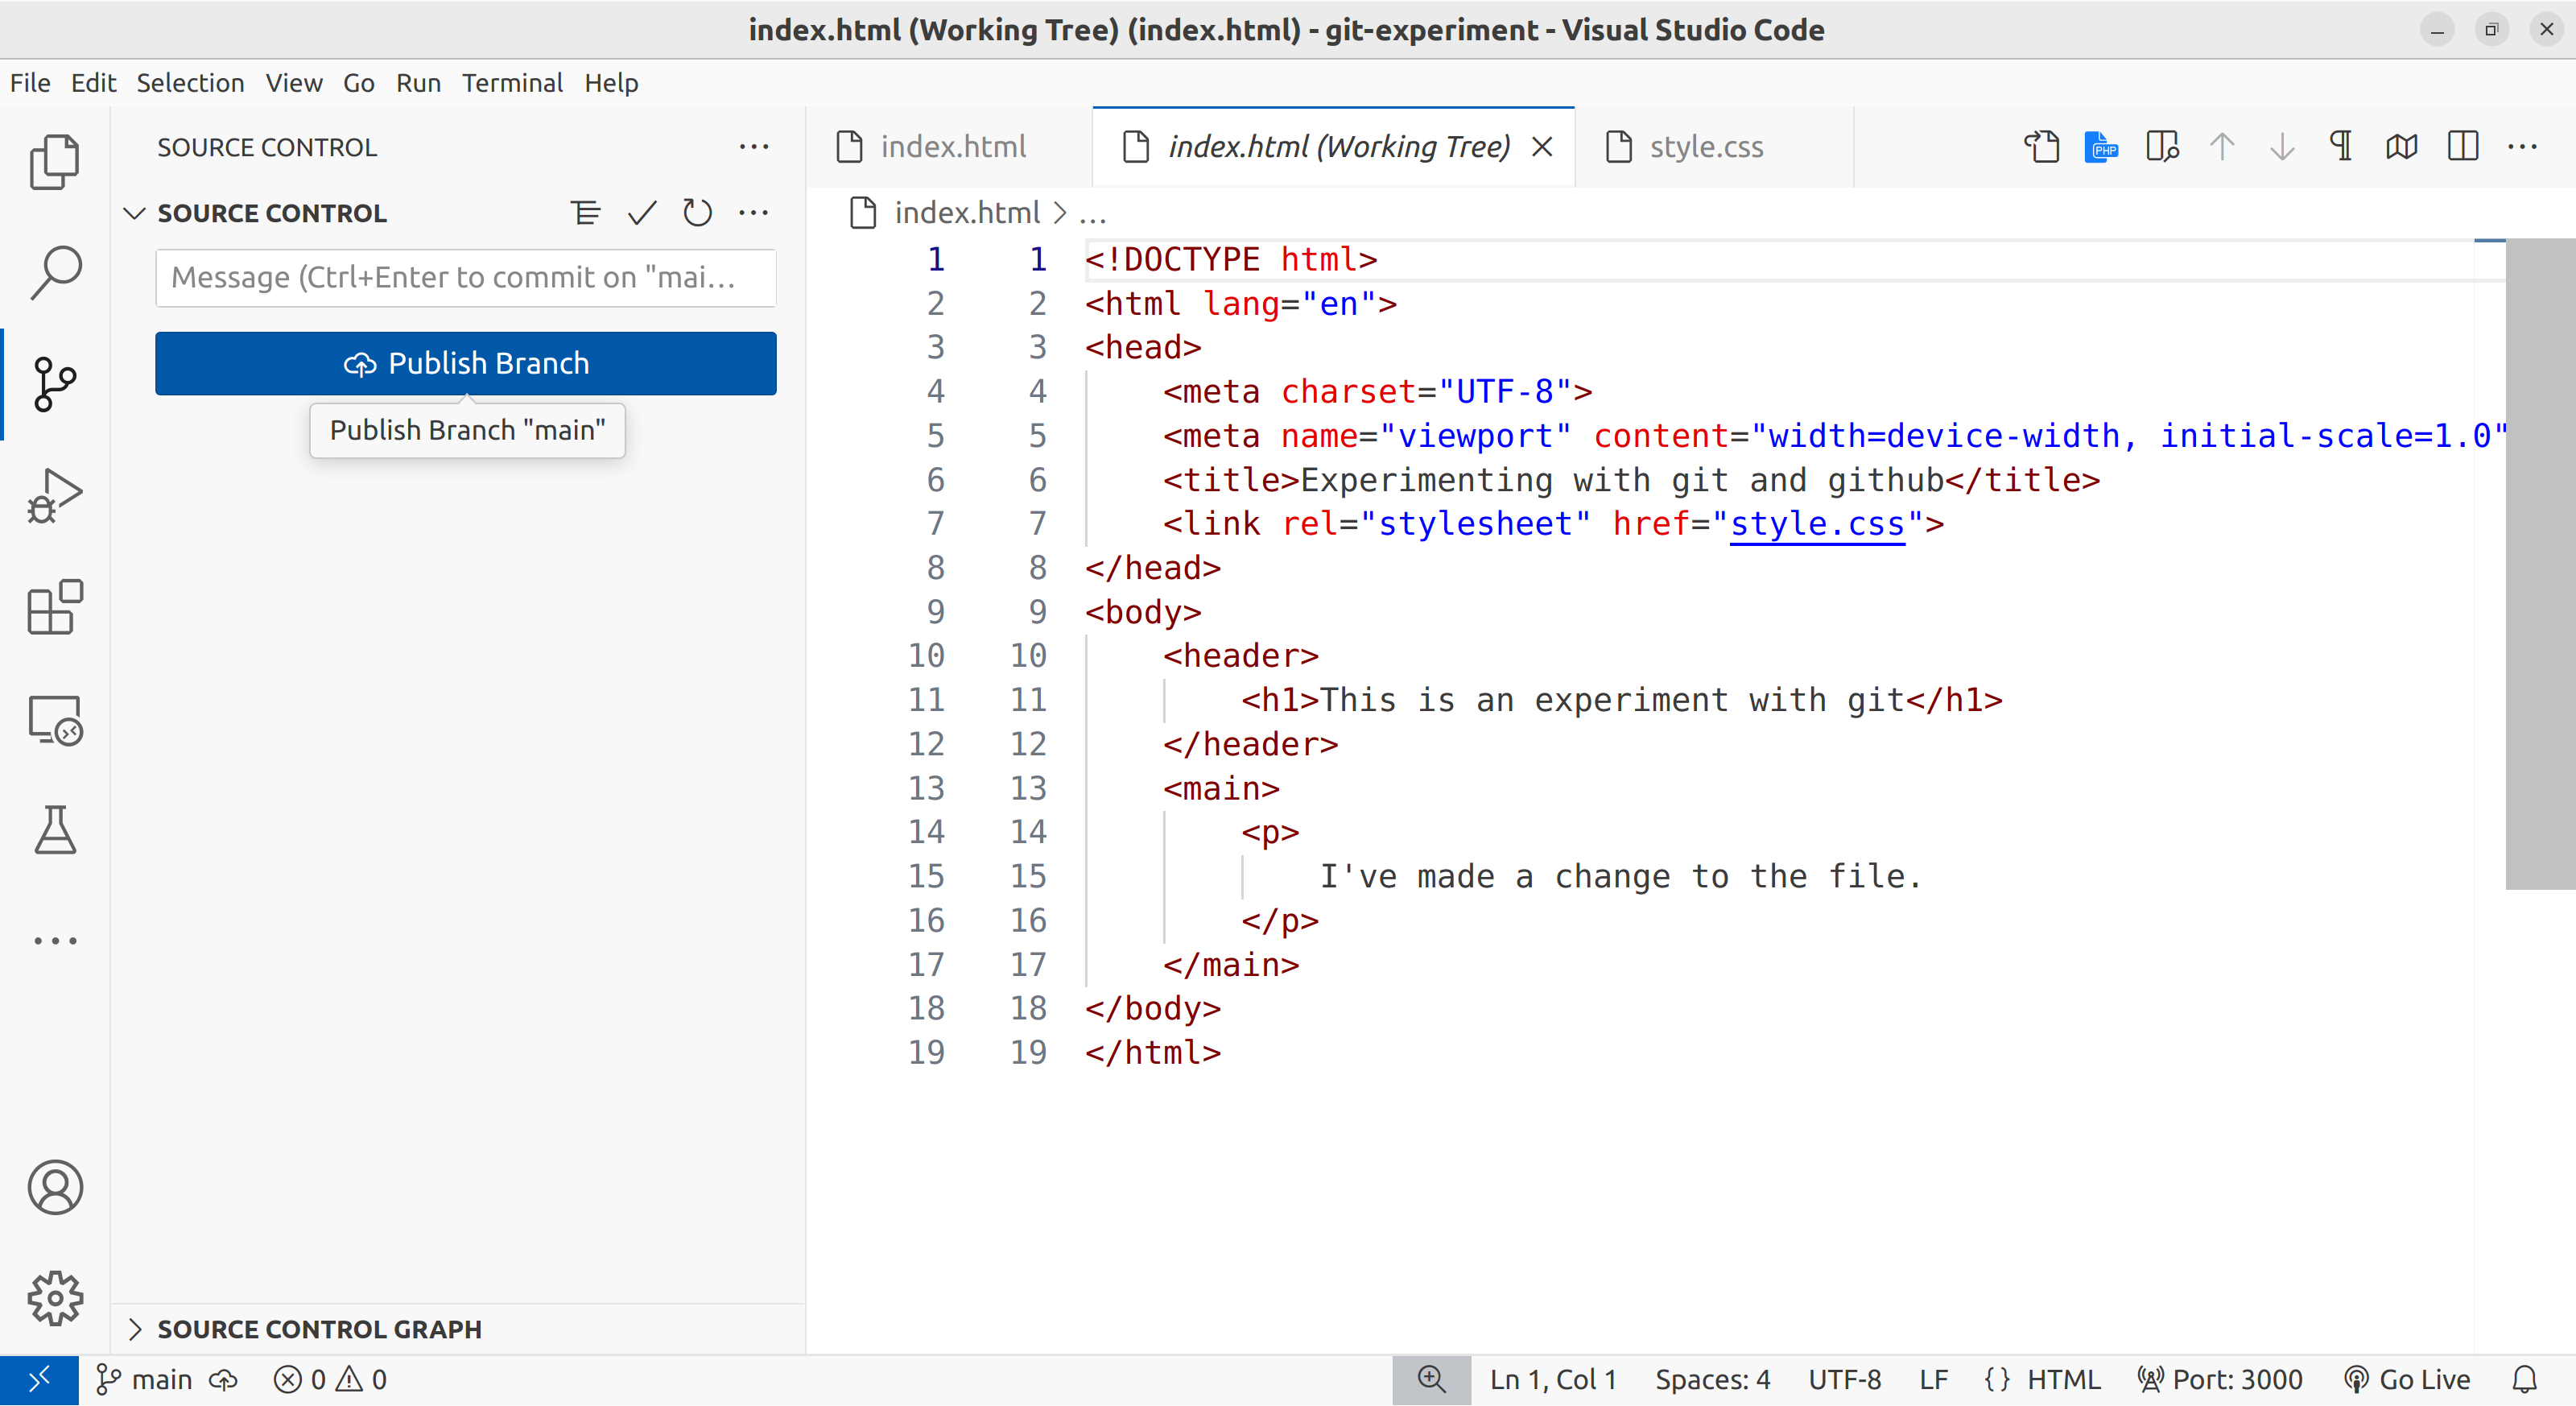
The diff shows the old version of the file next to the new version highlighting exactly what has changed.
Using the light high contrast theme you don’t get coloured highlights. So I’ve switched to the light modern theme for this comparison screenshot.
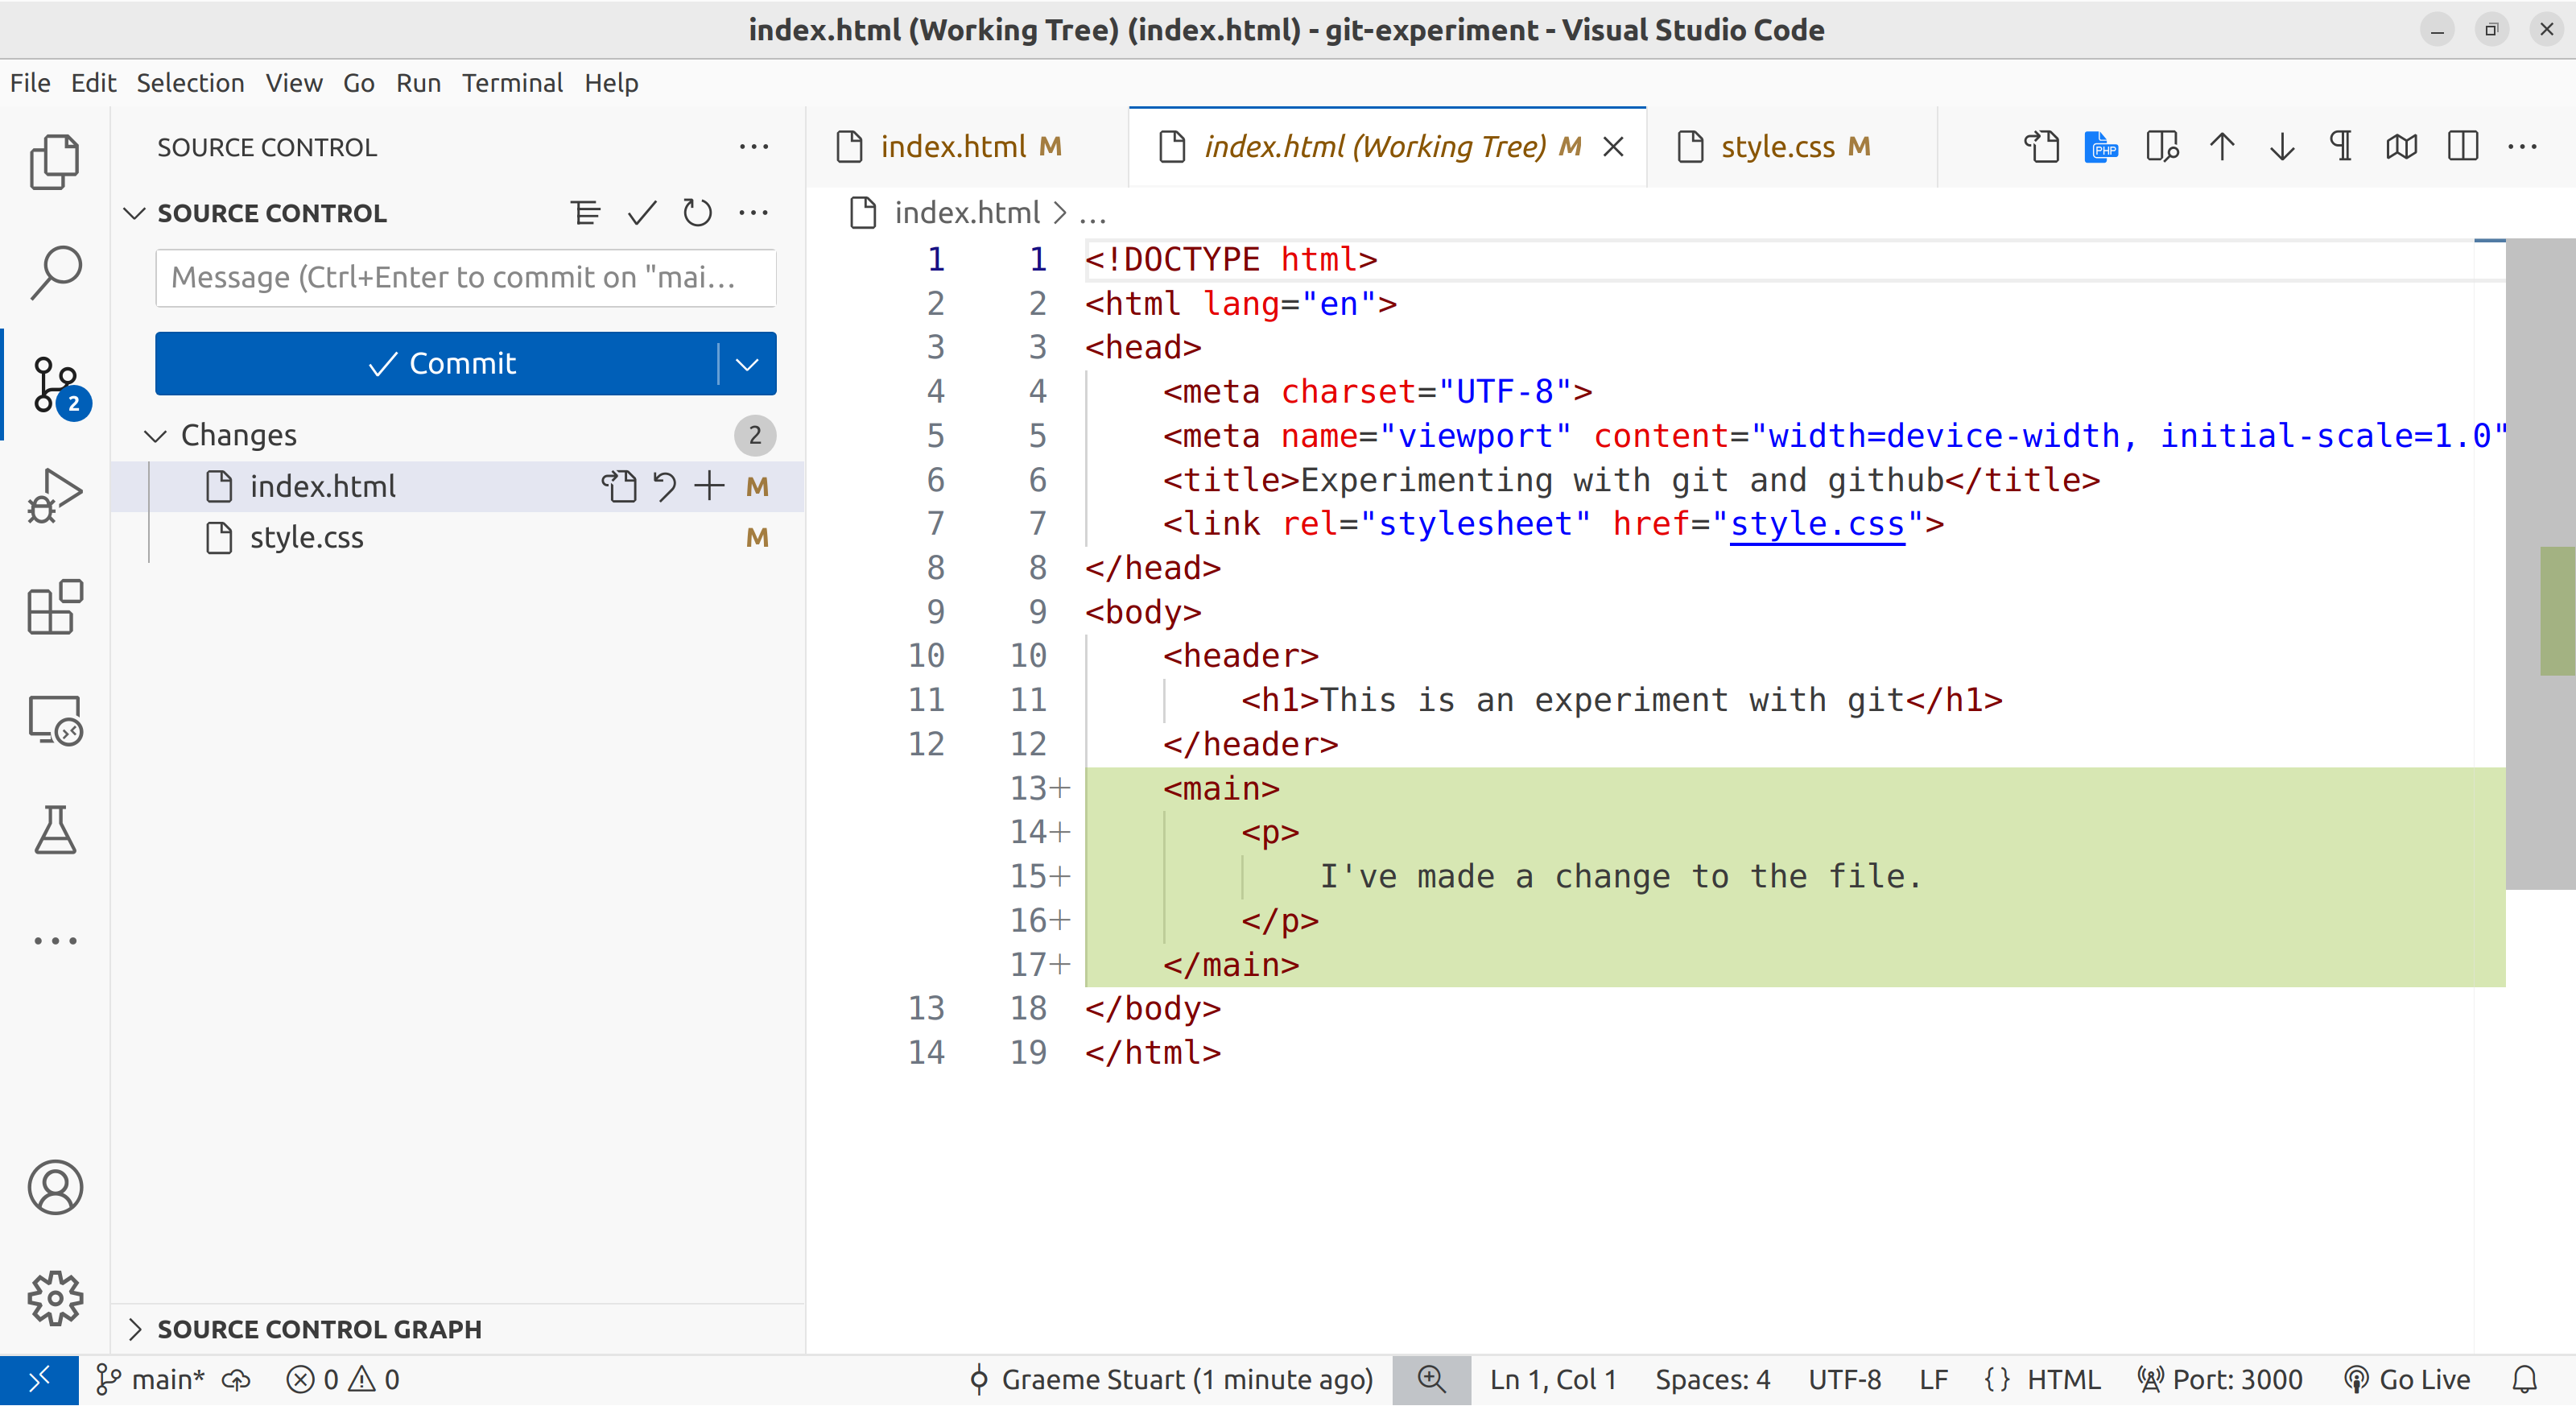
The light mode equivalent shows green highlights for new lines.
As before, we can move the files in and out of the staging area by clicking the icons next to the file name. A commit should contain related changes which increment the project in some way. Avoid committing code that leaves the project in a broken state. Typically any problems should be addressed between commits.
We don’t need to add all our changes into the next commit, we could add one file at a time or even construct commits line-by-line. Highlighting some of the green lines of code and right-clicking reveals these more advanced options. Don’t worry about this now, but know that if you have lots of unrelated changes in your working copy, it is possible to divide the changes into multiple commits in this way.
Make a second commit by staging the files, entering a message and clicking the commit button. This process can continue indefinitely. Each commit acts as a save point to which you can revert if necessary.
Practice making commits until you are satisfied you understand the basic process.
Reverting
Go back to the explorer panel again and make a few more changes, to both files. Check the source control panel again and you should see your changes are highlighted in the diffs as usual.
This time, for each file, choose the revert option.
You should see that the project returns back to the last commit.
This is crucial as it allows you to experiment freely, safe in the knowledge that you can always revert back to the last save point. Just remember to commit early and commit often when things are going well.
The usual workflow is to edit the working copy until an incremental improvement is complete.
Then we can check the diff to see what we are about to commit, tidy up any mess in the new code and make the commit.It is good practice to make your commits as simple as possible (but no simpler). Leaving unrelated uncommitted changes in the working copy can lead to problems.
Where are the commits?
So far we have been working entirely locally. Git is sophisticated software, but ultimately, all it is doing is creating extra data in a hidden .git folder within your project folder.
The .git folder contains an index of all the files in your repository and all the information about every commit (stored as a sequence of diffs).
You can see this folder if you know how to show hidden files. Do not mess with the contents of this folder.
This means you can move your project folder anywhere on your file system and it will still be identified by VSCode as a git repository and all the commits will still be intact.
Make a few more commits to your project until you are happy with it. Remember, lots of small, incremental changes in the commit history is much better than fewer larger changes.
Publishing
You will need a GitHub account for this step. If you do not have one, go and set one up at GitHub. If you do have an account then make sure you are logged into GitHub in your browser.
If you have committed all your changes then you should see a Publish Branch button appear in the VSCode source control panel.
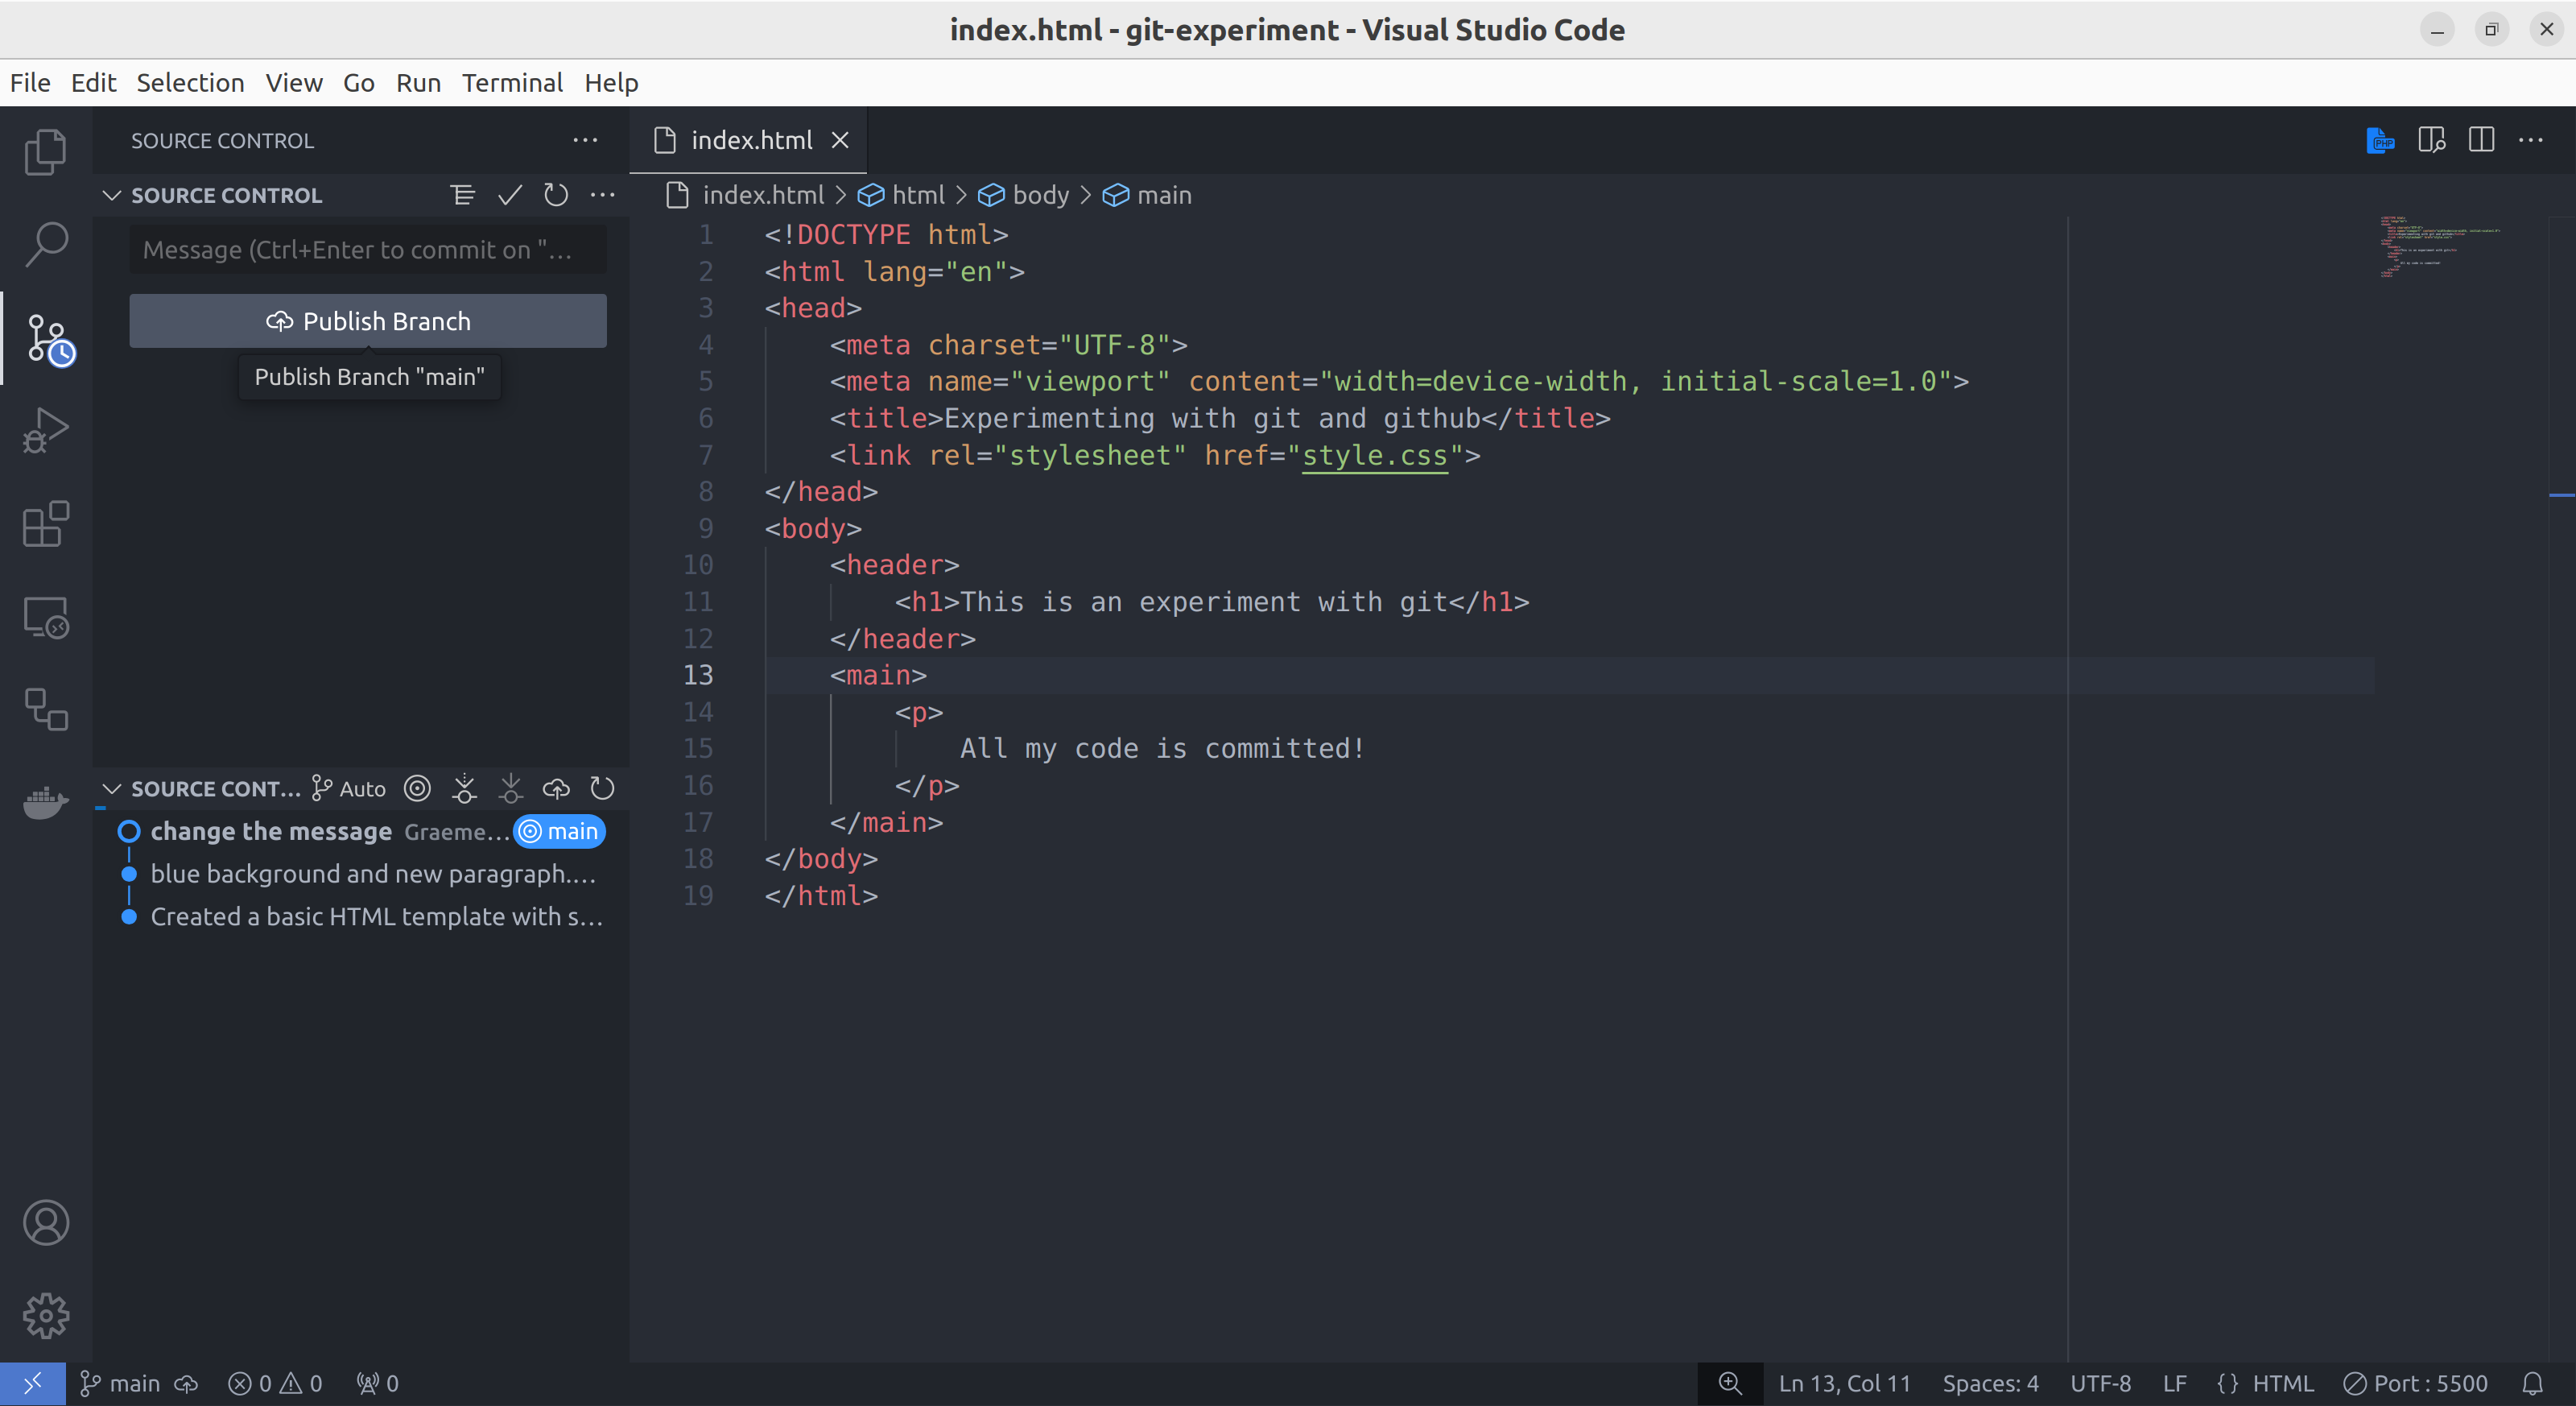
The source control panel on the left is inviting you to publish.
Equivalent in light mode.
If you don’t see this button then perhaps you need to commit or revert some uncommitted changes in your working copy.
This button will trigger VSCode to make a clone of our repository (a full copy, including all the commit history) on GitHub. It will also register this copy as a remote repository. So our local repository will store a link to the new repository on GitHub and this will establish a connection between the two copies of our repository.
Now, click the publish button to upload your repository.
You may be asked to authenticate with GitHub. Additional windows may pop up to enable a login process. Agree and let the process complete.
You will be asked whether you want to create a public or private repository. Choose a private one for now (you can make it public or share it with specific people later). Feel free to rename the repository if you want.
Now, if everything worked as expected, you should be able to find the new repository, including a record of all your commits on GitHub.
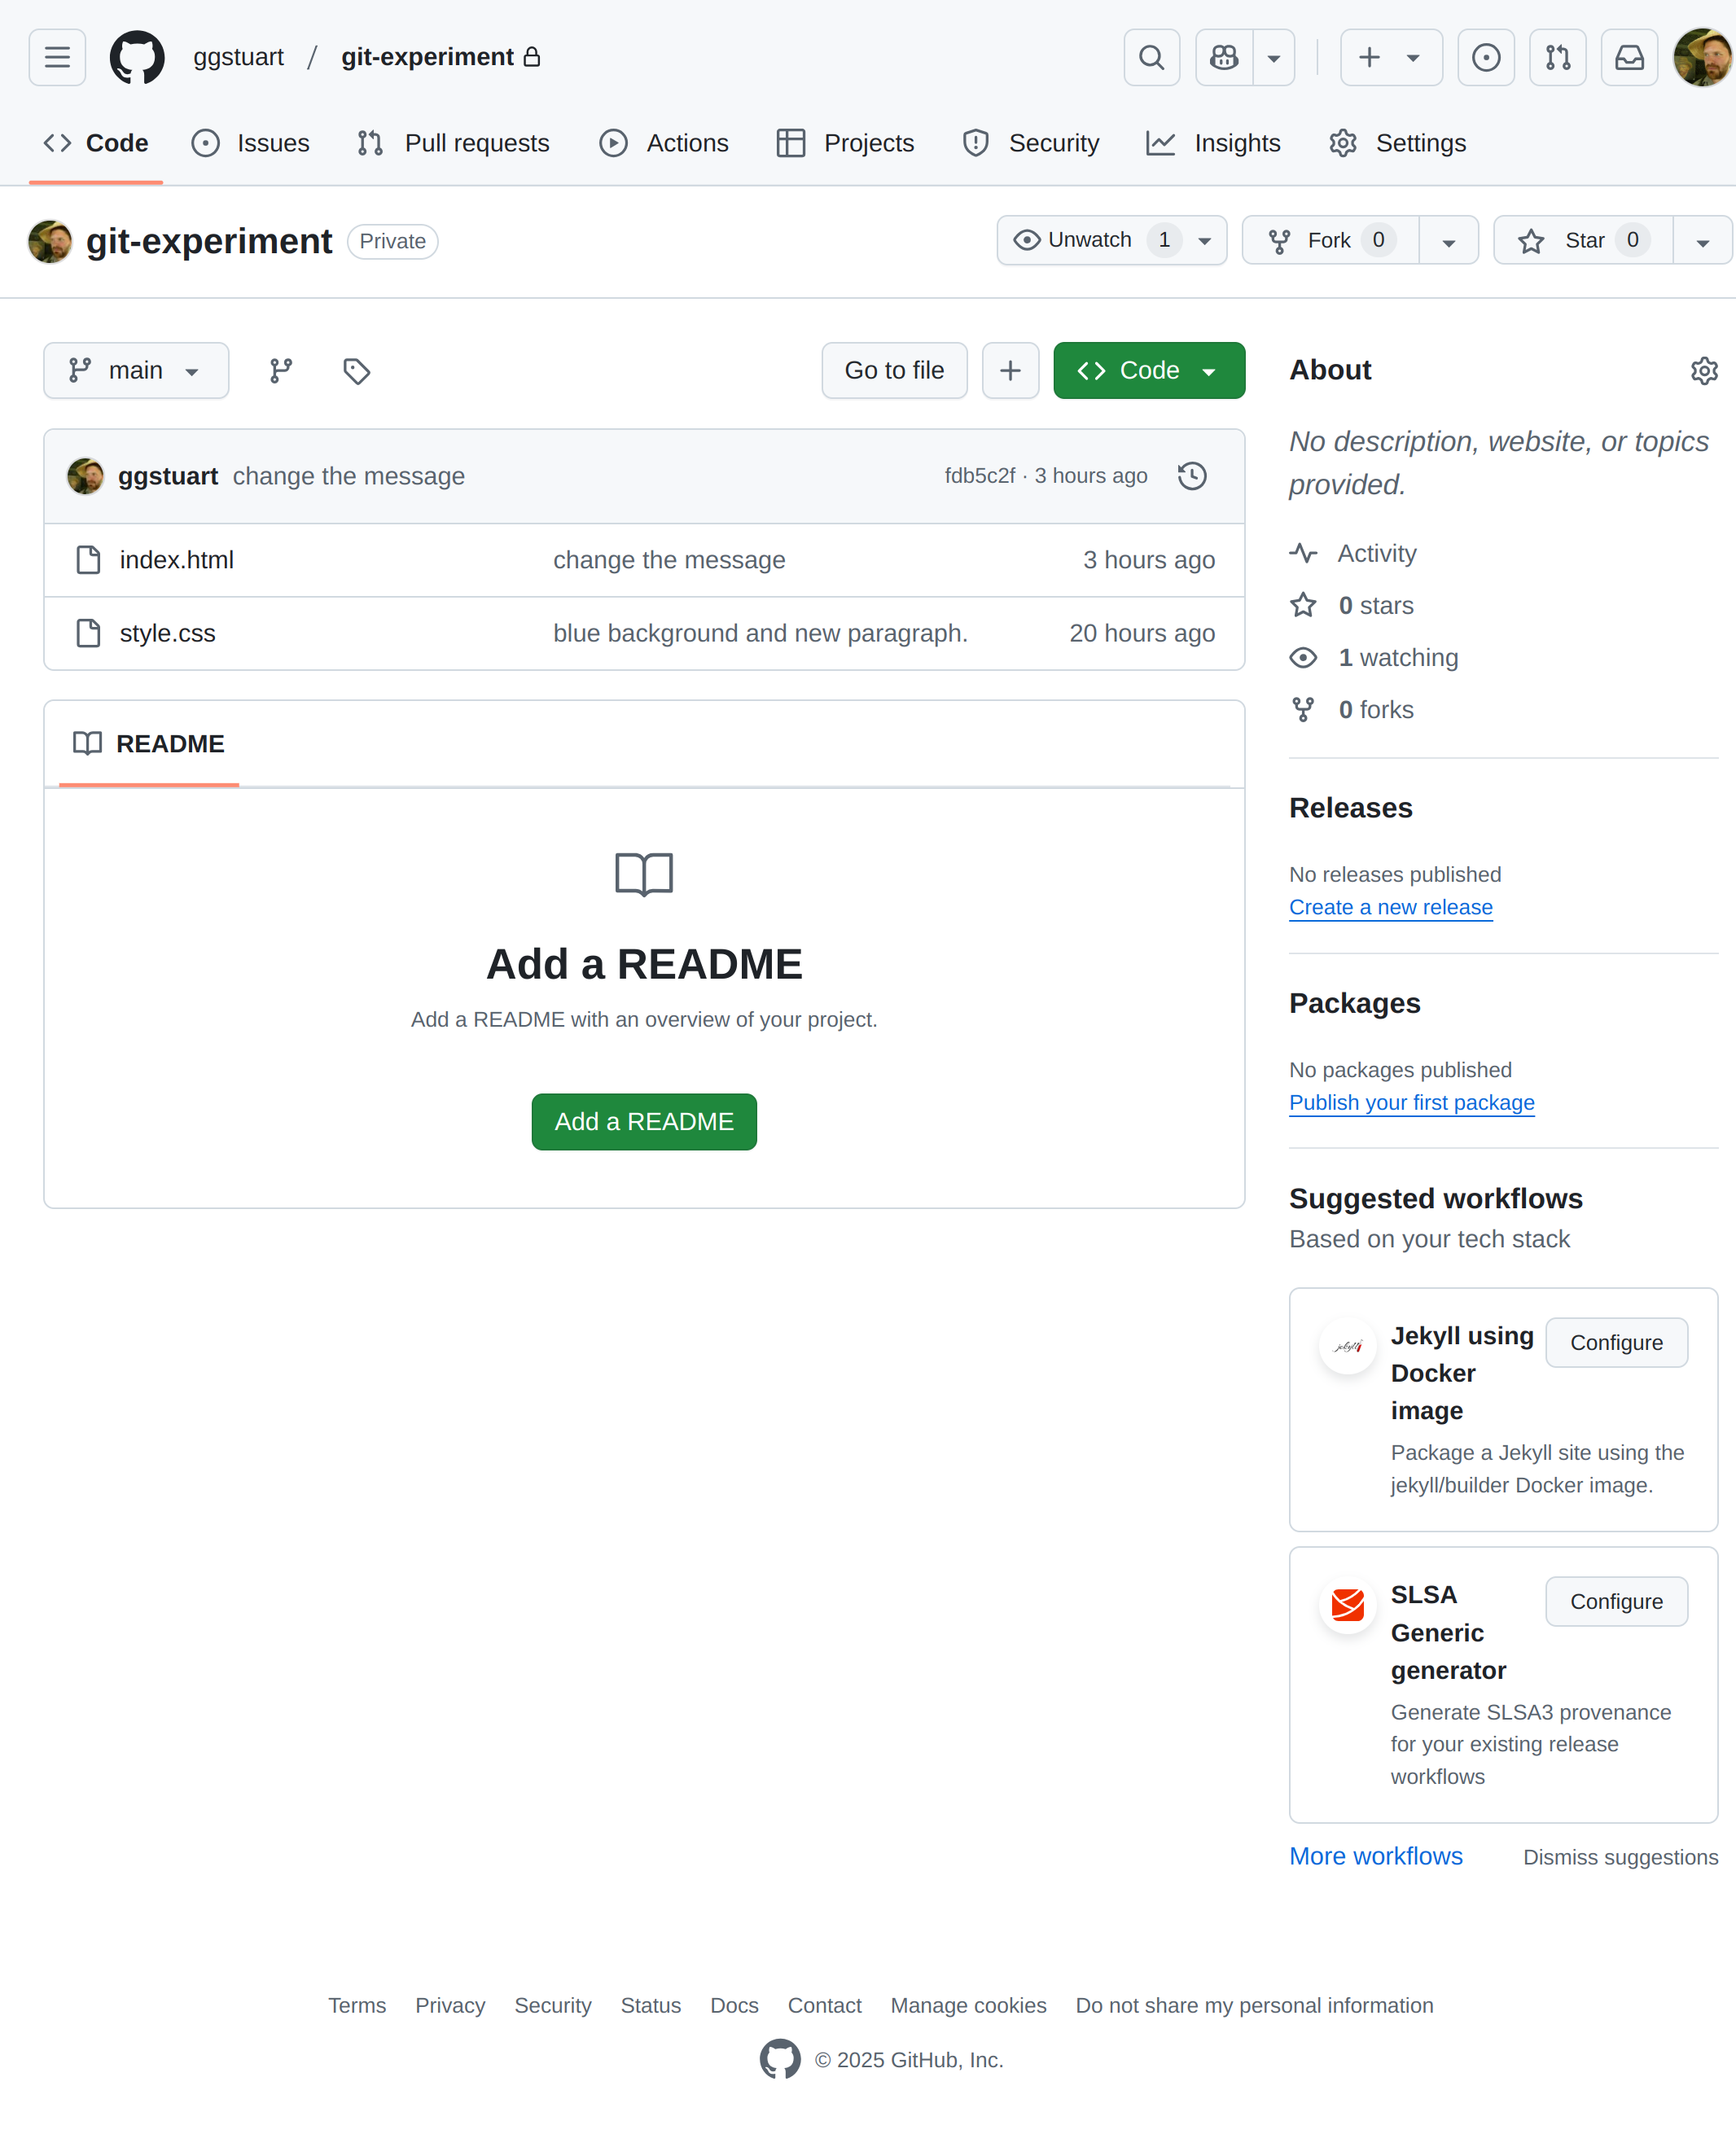
The repository is now on GitHub.
Note that we could have clicked the Publish to GitHub button in the first place instead of the Initialise Repository button. This would initialise the local repository, make an automatic commit of all the changes and clone it to GitHub all in one step.
Ongoing changes
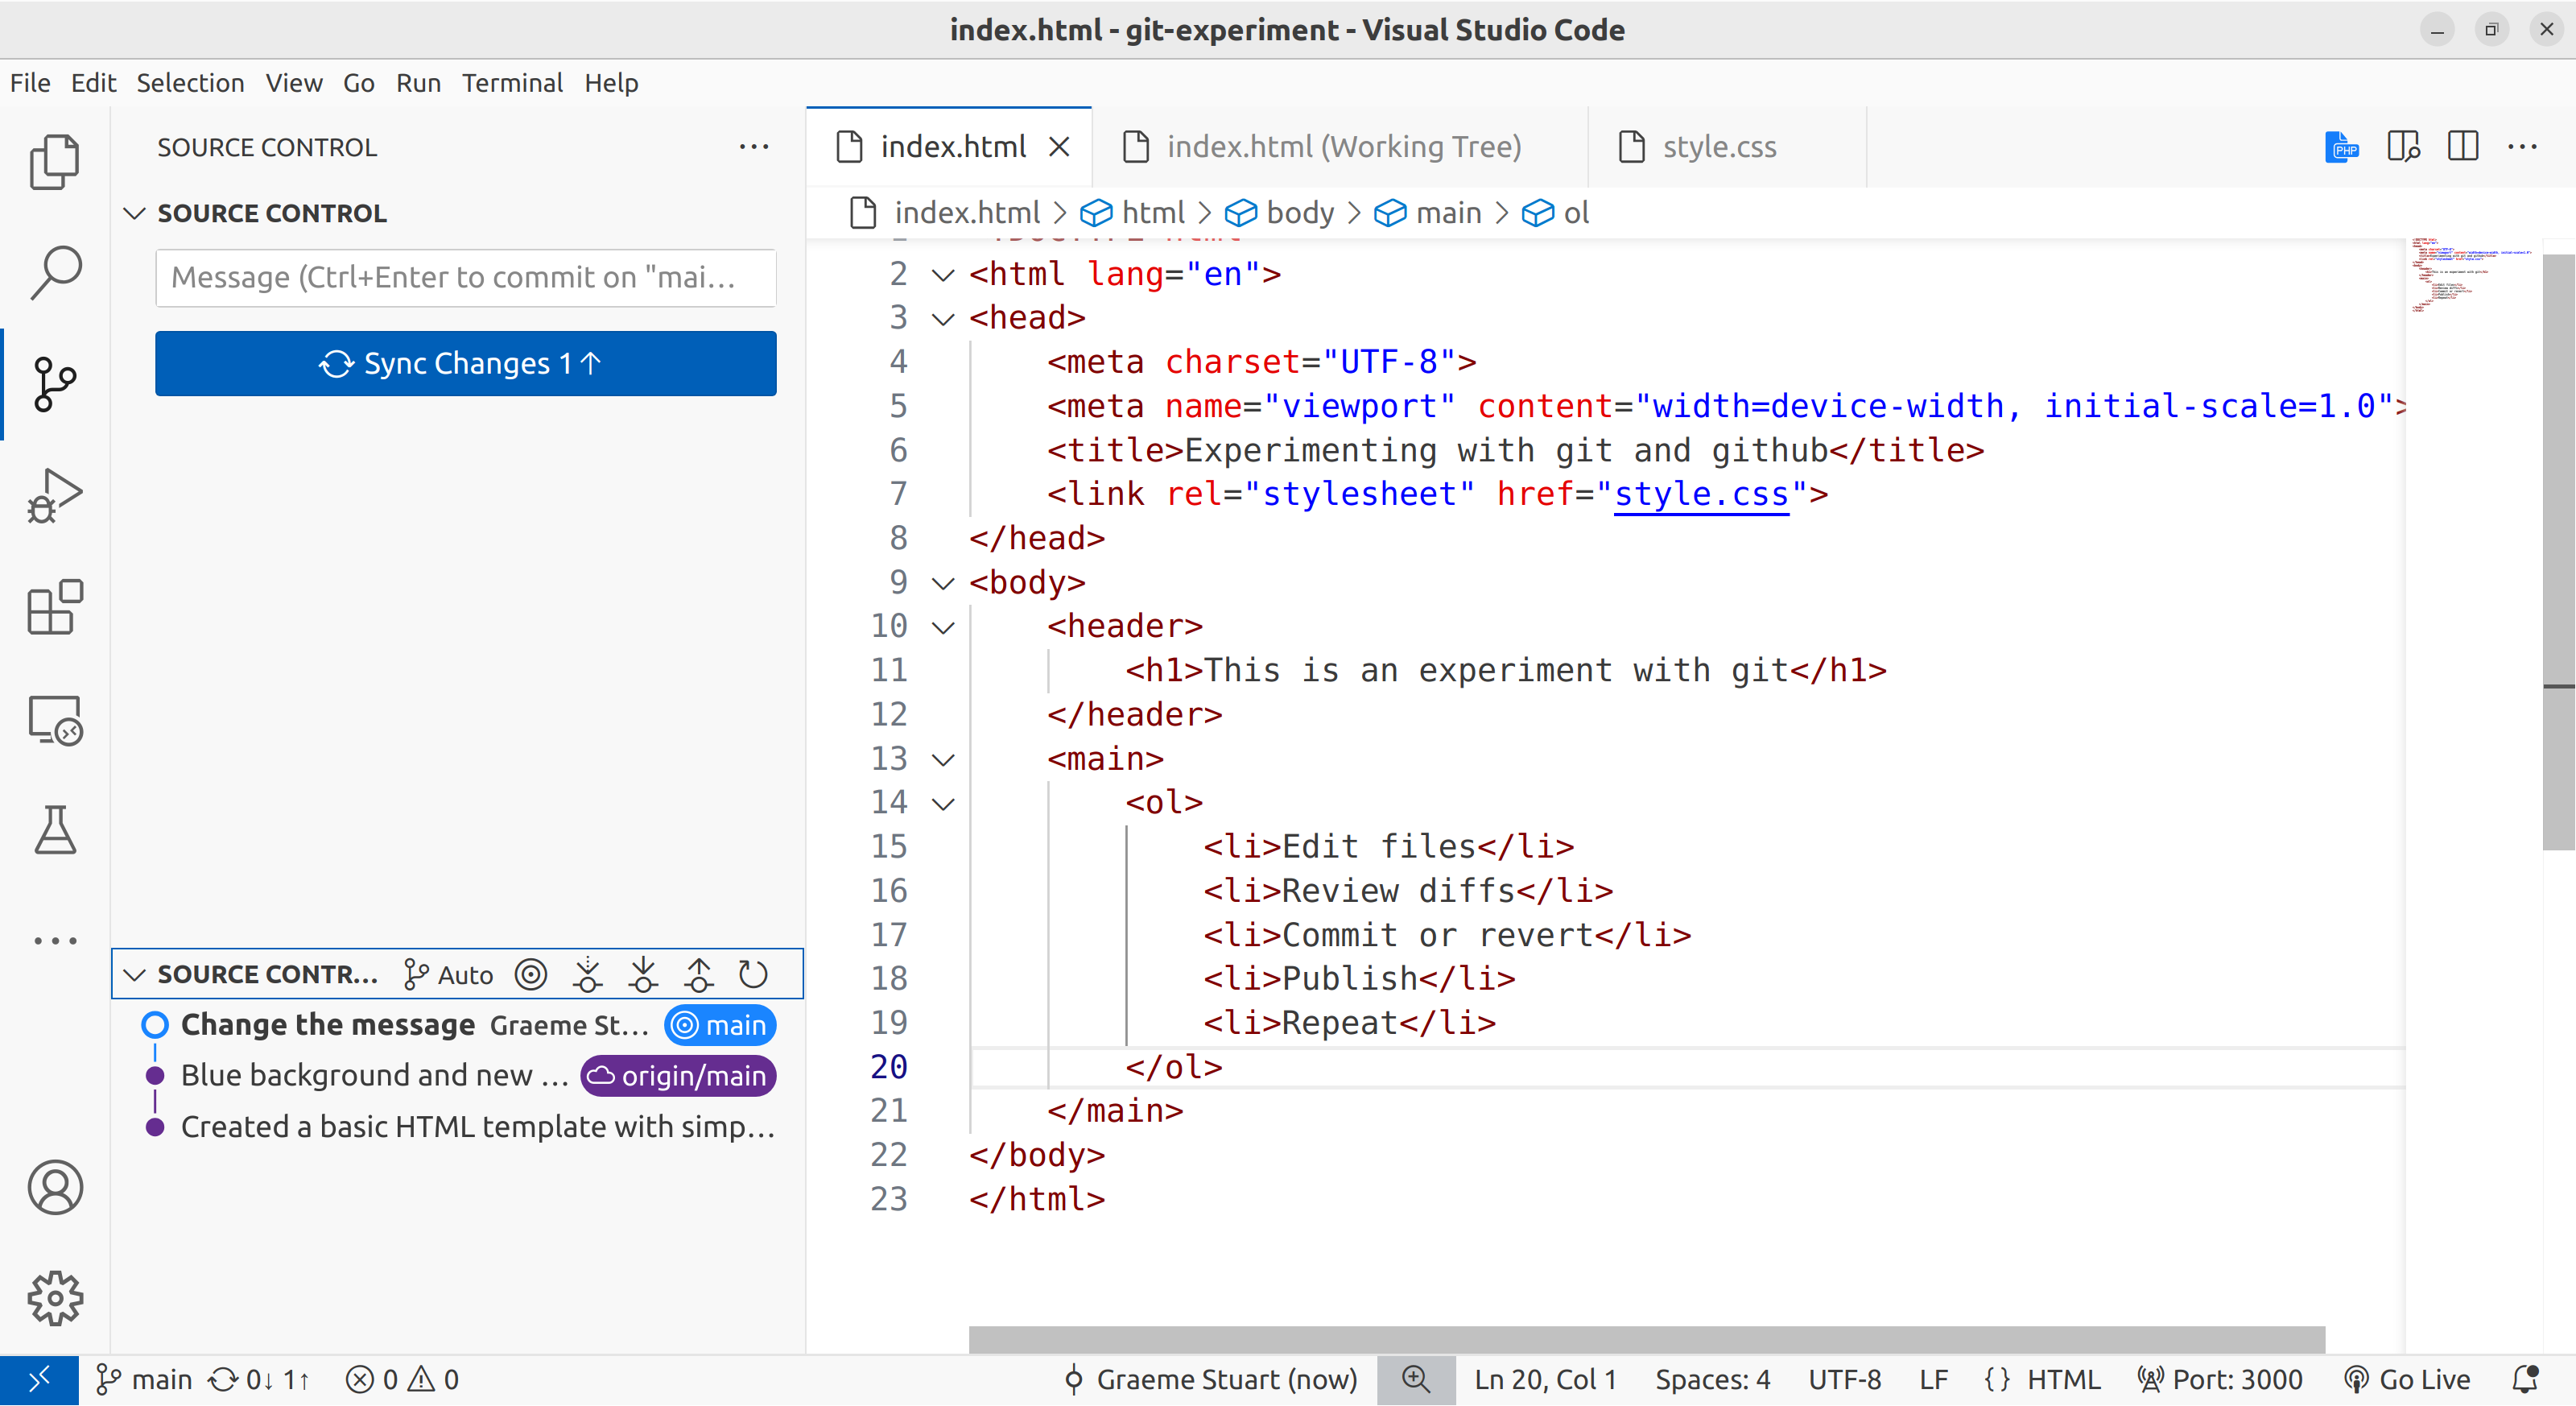
Now, back in VSCode, you can make further commits to the local repository and when your working copy is up to date (i.e. once everything is committed), you should now see the option to Sync Changes indicating how many commits we have locally that would be pushed to the remote repository.
This has replaced the Publish Branch button.
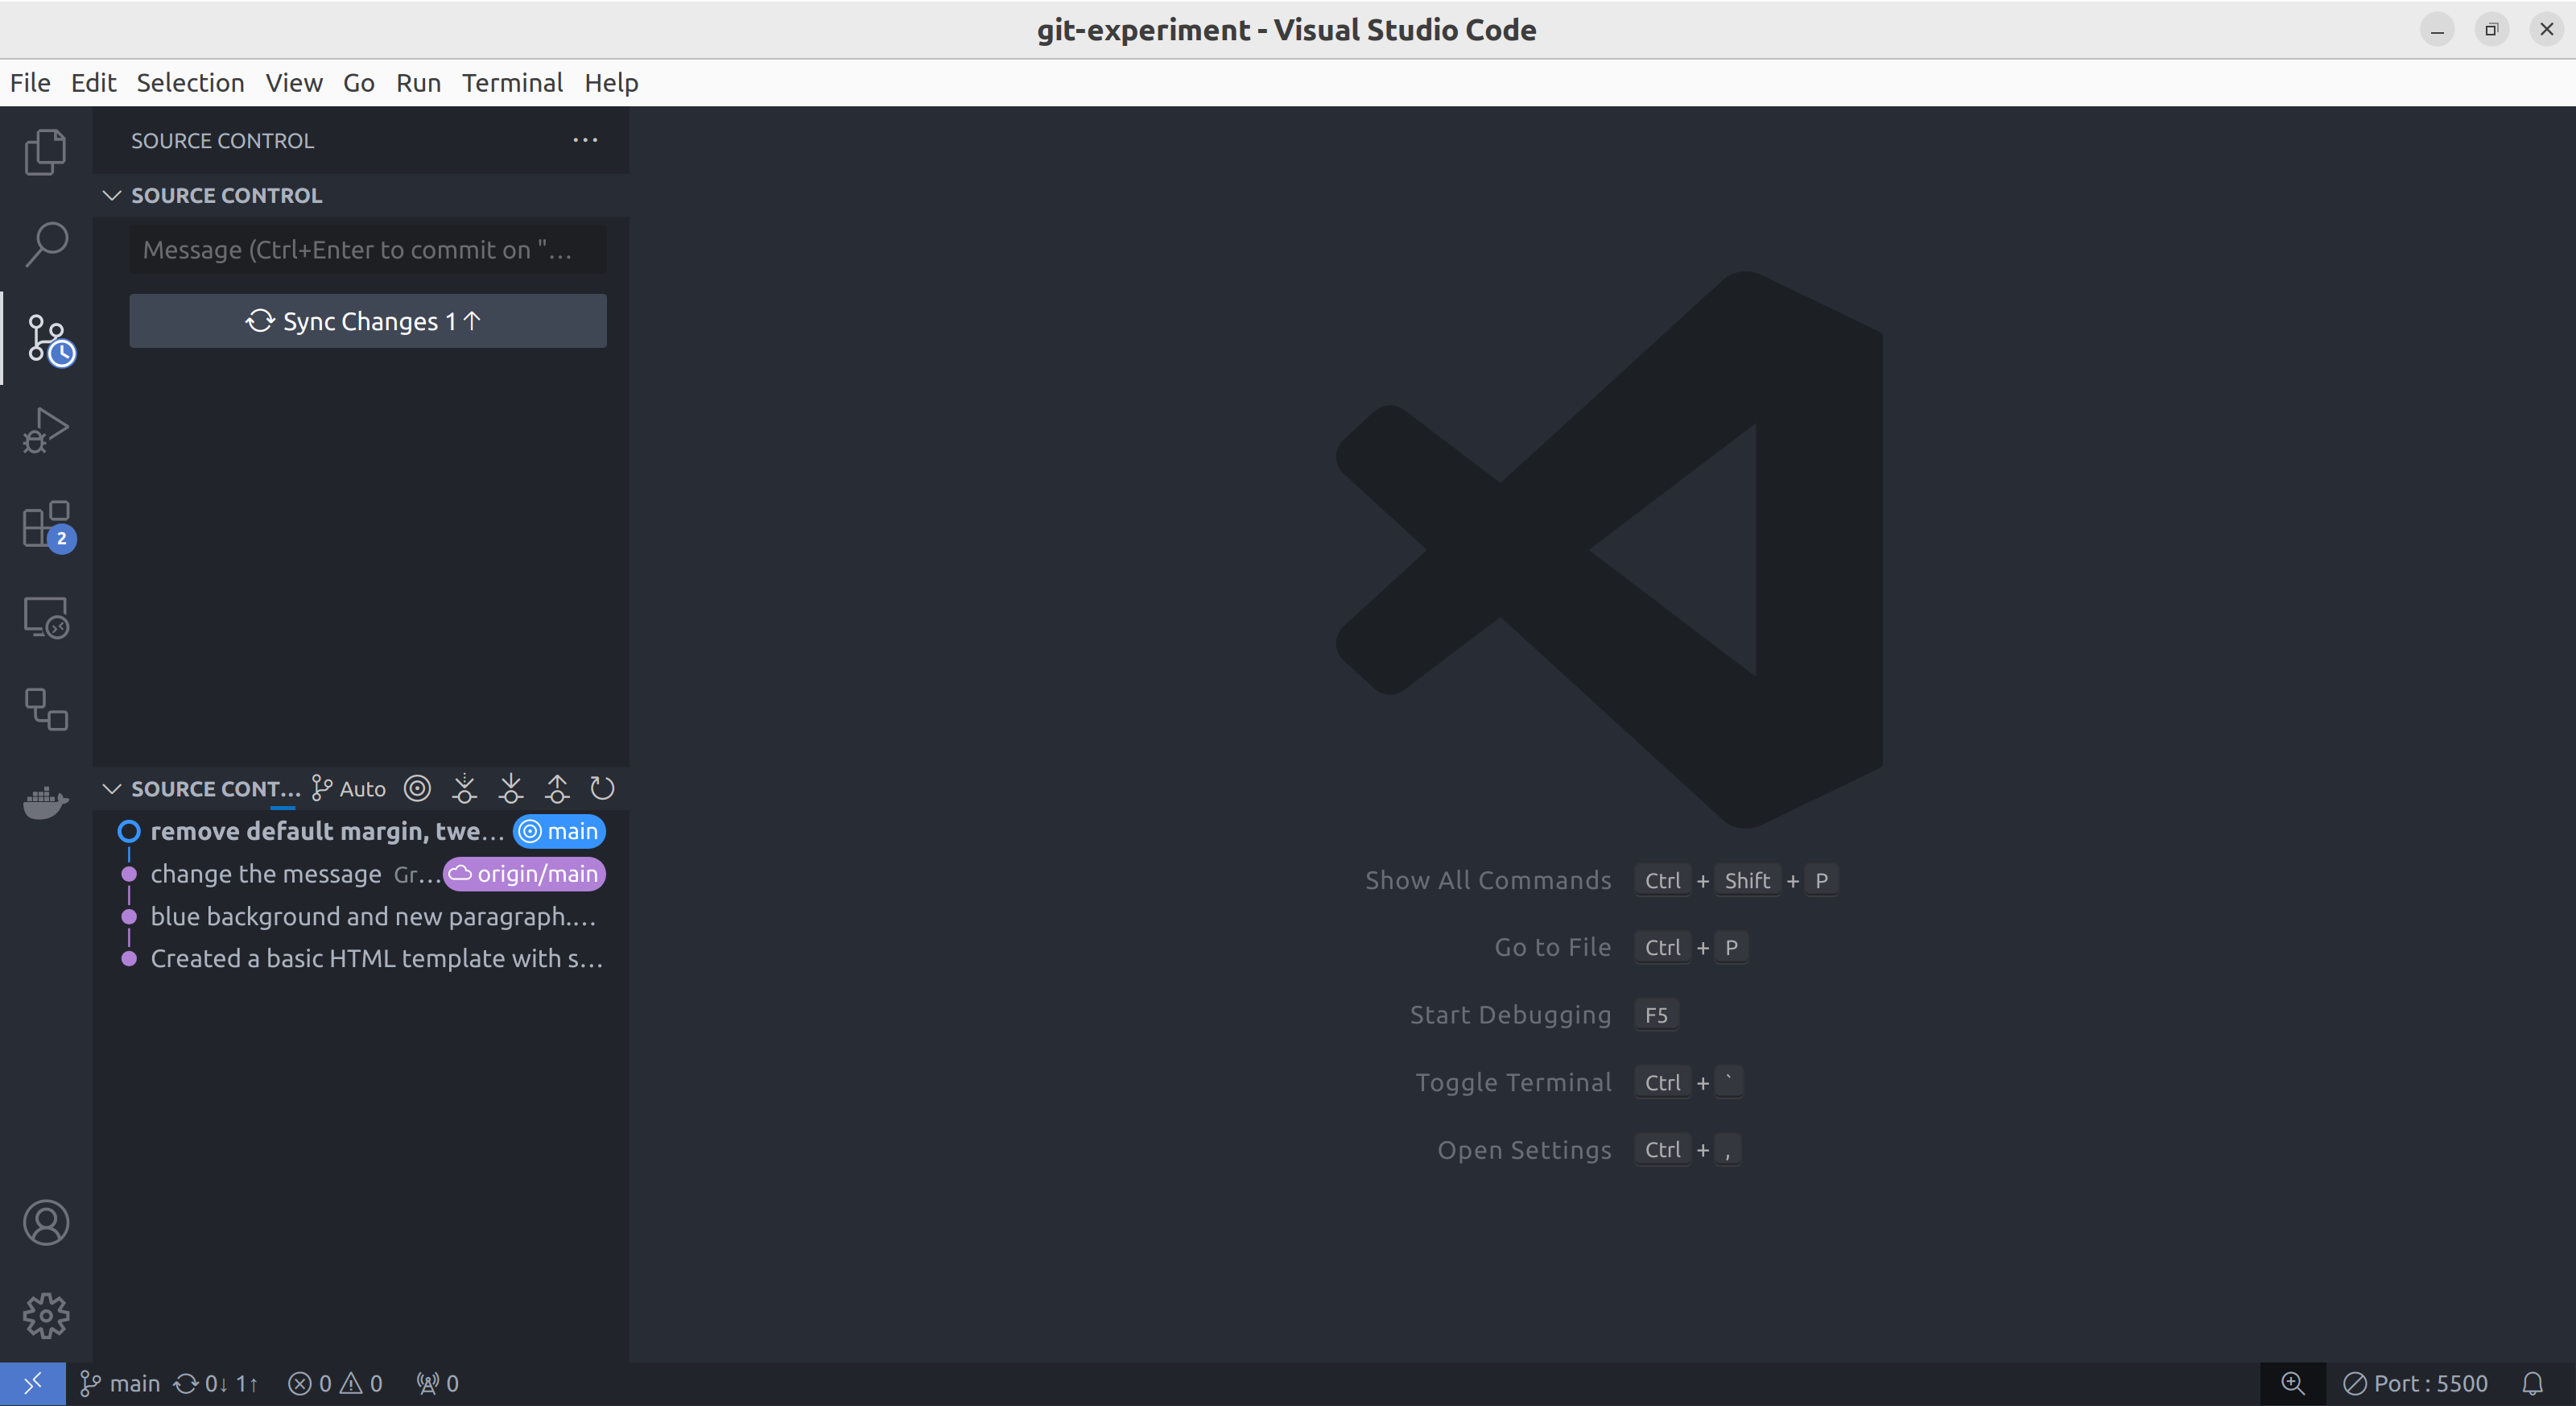
The source control panel on the left offers the option to synchronise our changes with GitHub.
Light mode equivalent.
Simply clicking the button will push any new changes to GitHub.
You may need to refresh your browser to see the updates appear on the GitHub website.
Conclusions
We have introduced the basic of git. There is a lot more to learn but we can now confidently create repositories, make commits and publish our code to GitHub.